
Lip Stain Marker Tutorial: Even, Long-Lasting Color
 Abdul WadoodLast updated
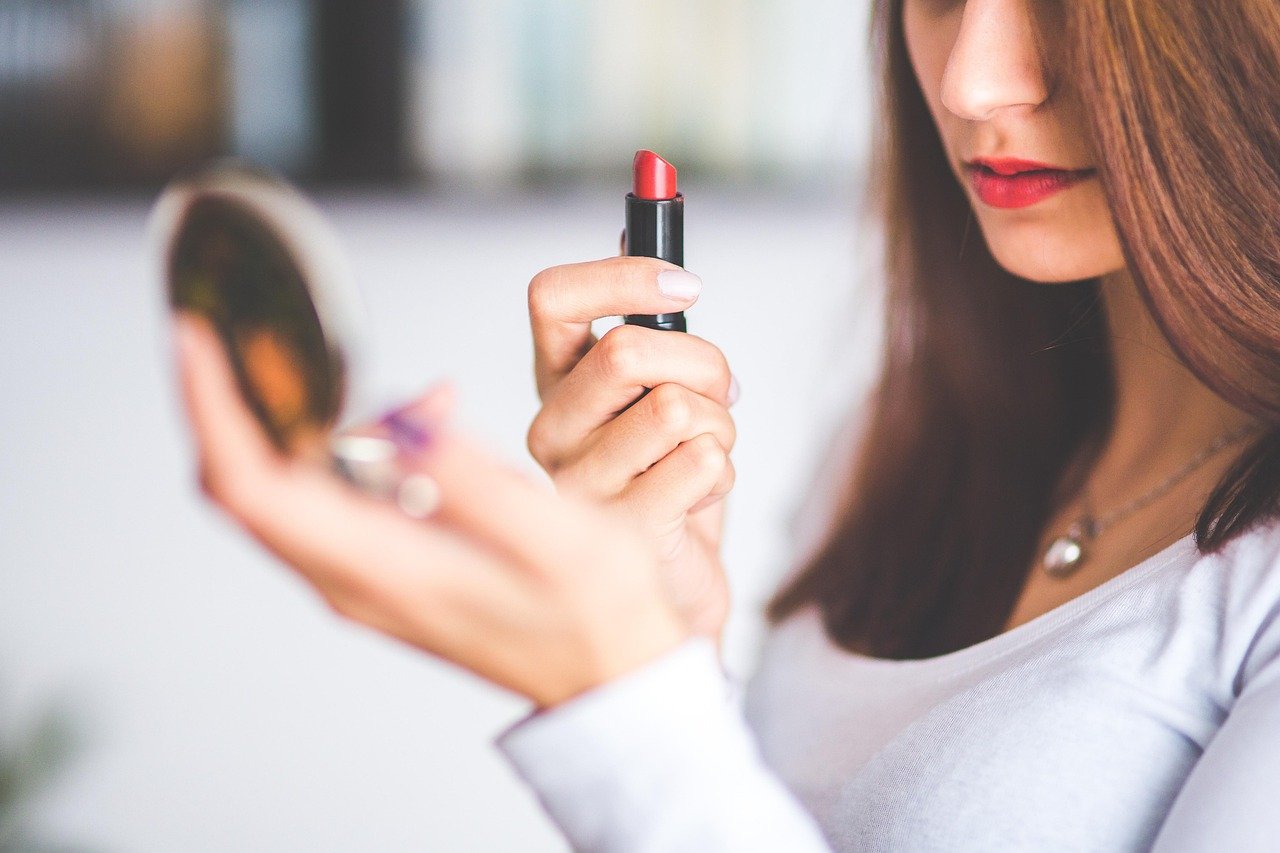
A single lip product that survives coffee, lunch, and a full workday sounds like a fantasy. Yet peel-off tints and marker-style stains are among the most-searched lip products worldwide, and the marker format in particular has built a devoted following because it behaves like a pen: precise, buildable, and nearly weightless on the lips. The catch is that this same precision cuts both ways. A marker lays down color exactly where you put it, which means every dry patch, every wobbly line, and every rushed application shows up in high definition.
This tutorial walks through what a lip stain marker actually is, how to prep your lips so the color goes on smoothly, a step-by-step application method, and the fixes for the problems people hit most often. It also covers how markers compare with liquid tints and traditional lipstick, so you can decide whether this format deserves a spot in your bag.
What Is a Lip Stain Marker?
A lip stain marker is a felt-tip pen filled with a thin, water- or gel-based tint. The nib deposits color directly onto the lips, much like a marker on paper. Korean beauty brands popularized the format, and Western drugstore lines later adopted it, though whether “lip stain marker” is a standardized product category or a marketing label varies from brand to brand.
The formula is usually lighter than a liquid lipstick and dries down to a stain rather than a film. That is the appeal: color that sinks in and fades gradually instead of flaking off in patches. The trade-off is that thin formulas are unforgiving. They highlight texture, cling to flaky skin, and can look uneven if the lips are not prepped.
Markers also differ from one another more than you might expect. Some have a fine, firm nib built for outlining; others have a softer, brush-like tip for filling. Pigment load ranges from sheer wash to near-opaque. Reading the product description before buying saves a lot of trial and error.
Why Prep Matters More Than the Pen Itself
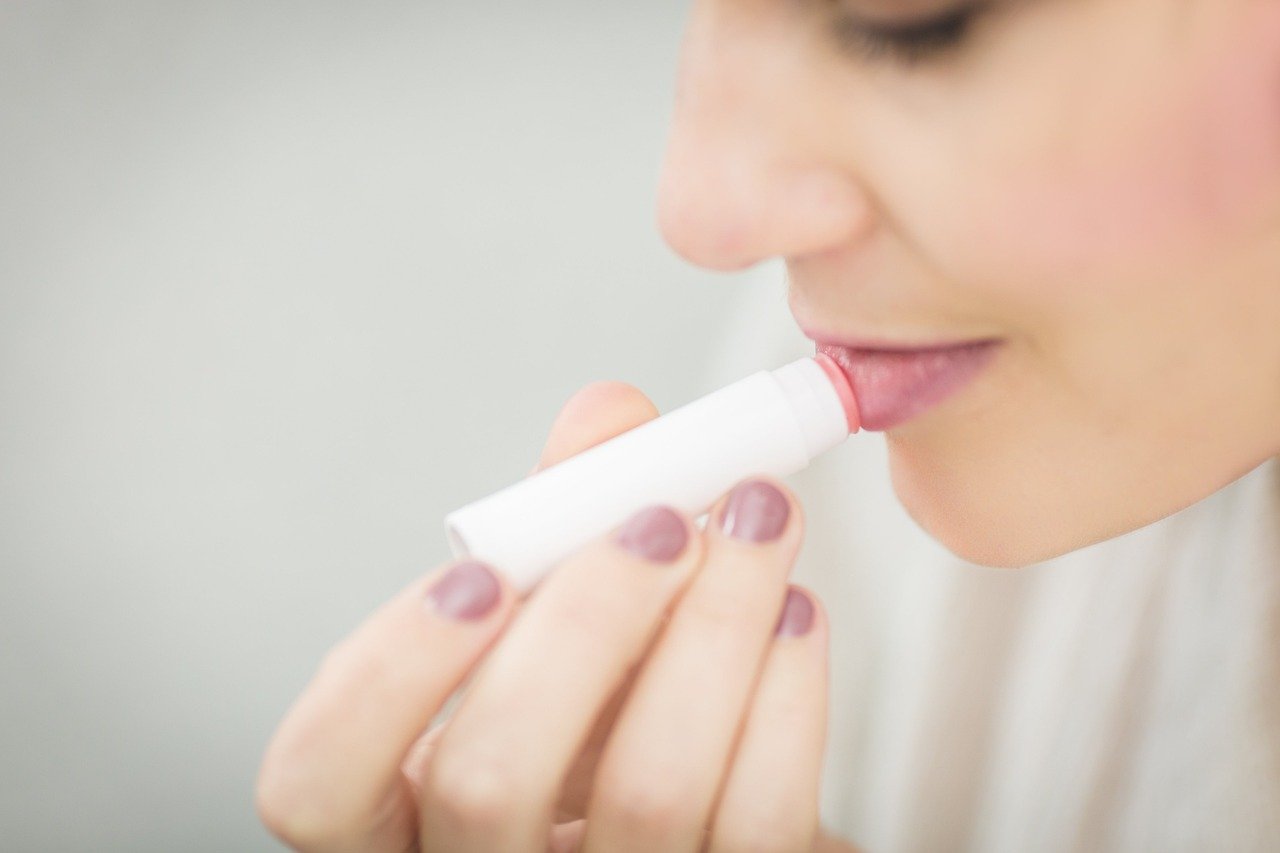
Most disappointing marker results trace back to the lips, not the product. Thin stains bind to whatever surface they meet. On smooth, lightly moisturized lips, that surface is even. On dry, flaky lips, the color grabs the flakes and skips the rest, producing the patchy, cracked look people blame on the formula.
The prep routine is short but non-negotiable:
- Exfoliate gently. A soft damp cloth, a sugar scrub, or a dedicated lip scrub for about thirty seconds is enough. Skip this step if your lips are cracked or irritated; exfoliating broken skin makes everything worse.
- Wipe away residue. Scrub particles left behind create bumps under the color.
- Moisturize, then wait. Apply a thin balm and give it a minute or two to absorb. A slick layer of balm right before application stops the stain from setting, so blot off the excess.
- Work on bare or nearly bare lips. The drier the surface at the moment of application, the better the color grips.
Patience during prep is the single biggest difference between a marker that looks painted on and one that looks stained in.
Step-by-Step: Applying a Lip Stain Marker
The technique below works for most marker formats, from fine-nib liners to softer felt tips. Adjust pressure, not speed, when you want more or less color.
- Start with a clean, prepped mouth. Follow the prep steps above and make sure no balm film remains.
- Outline the edges first. With the tip at a slight angle, trace the natural lip line. Short, feathering strokes beat one continuous sweep, especially on the cupid’s bow.
- Fill the center in sections. Work from the outer corners inward, coloring in small zones rather than scribbling back and forth. Overlapping strokes in the same spot push too much product into one area.
- Wait before judging. Most stains look sheer and streaky for the first ten to twenty seconds, then deepen as they set. Give it a moment before adding more.
- Build in thin layers. One light pass, a short pause, then a second pass where you want intensity. Two thin layers always beat one heavy one.
- Blend the edges. Run a fingertip or a cotton swab along the border to soften hard lines. If you want a gradient, tap the color inward from the center and blur the edge with your finger.
- Set with balm or gloss, not immediately. Wait until the stain has fully set, then add a clear balm or gloss if you want shine. Applying balm too soon lifts the color.
A common mistake is treating the marker like a crayon and coloring hard. The nib releases plenty of pigment with light pressure. Pressing down floods the lips, which causes pooling at the edges and uneven fading later.
Marker vs. Liquid Tint vs. Classic Lipstick
| Feature | Lip Stain Marker | Liquid Tint | Classic Lipstick |
|---|---|---|---|
| Precision | High, pen-like tip | Medium, doe-foot applicator | Low to medium |
| Finish | Natural, almost bare | Glossy to matte | Creamy to satin |
| Wear time | Long, fades gradually | Long, can flake | Short to medium |
| Best for | Defined edges, gradients | All-over color | Comfort and coverage |
| Main weakness | Shows lip texture | Can transfer | Transfers, needs touch-ups |
The marker wins on control. If you like a defined lip line, a soft gradient, or a “my lips but better” effect, the format is hard to beat. Liquid tints cover faster and hide texture better. Classic lipstick remains the most comfortable for dry lips and the easiest to reapply without a mirror.
Fixes for the Most Common Problems
The color looks patchy
Patchiness almost always means the lips were dry or the balm was still sitting on the surface. Exfoliate, blot, and try again with lighter pressure. If a second attempt still skips, the formula may be too thin for your lip texture, and a liquid tint will serve you better.
The stain bleeds outside the lip line
Fine lines around the mouth give thin color a path to travel. Trace the outline first, let it set, and only then fill the center. A tiny amount of concealer along the outer edge creates a barrier that keeps the color in place.
The color fades unevenly
Uneven fading usually comes from uneven application. Overlapping strokes in one spot mean more pigment there, so that area wears longer. Apply in thin, even layers across the whole lip, and touch up the center, which fades first because it takes the most friction from talking and eating.
The stain feels tight or drying
Thin formulas are drying by nature. A layer of balm after the color sets restores comfort without lifting much pigment. Reapply balm through the day rather than adding more stain.
The marker dries out
Recap it firmly after every use. If the nib feels dry, store the pen tip-down so the formula settles near the tip. Never pump or shake a marker aggressively; that pushes formula into the cap and wastes it.
Practical Tips That Actually Work
- Test on the back of your hand first. Marker shades often look different on the lips than on the nib. A quick swatch shows the true undertone and how fast it sets.
- Use a gradient for a low-effort look. Color the center of the lips, blur outward with a fingertip, and leave the edges nearly bare. This forgiving style hides uneven edges and suits the marker format perfectly.
- Skip the stain if your lips are cracked. Thin color on broken skin stings and looks worse than bare lips. Heal first; the marker will still be there next week.
- Layer a matching liner underneath for events. A stain plus a liner in the same family gives definition that lasts through dinner.
- Remove it properly. Stains cling. An oil-based cleanser or a balm massaged in for thirty seconds lifts the color far better than water or a makeup wipe.
- Store it away from heat. A marker left in a hot car can separate or leak. A drawer at room temperature keeps the formula stable.
For more practical beauty and content guidance, the team at Voozon Media covers application techniques and product breakdowns in depth.
Who Should Try a Lip Stain Marker?
The format suits people who want color that feels like nothing, who like precise edges, or who are building a gradient look. It also works well for anyone who dislikes the weight of traditional lipstick and does not mind a little prep.
It suits fewer people with chronically dry or textured lips, or anyone who wants full coverage in one swipe. Those needs are better served by a cream lipstick or a hydrating tint. Knowing which camp you are in saves money and frustration.
The broader trend is worth noting. Interest in clean, low-maintenance makeup has grown steadily, and stain formats fit that shift because they promise color without heaviness. That promise holds up, provided the application respects how thin formulas behave. The Wikipedia entry on lipstick offers useful background on how lip color products have evolved, and the U.S. Food and Drug Administration’s cosmetics page explains how color additives are regulated, which is worth a look if ingredient sensitivity is a concern for you. (Lead poisoning and health)
Conclusion
A lip stain marker rewards a little discipline. Prep the lips, apply in thin layers with a light hand, let the color set before adding balm, and the result is a soft, even stain that lasts for hours without feeling like anything at all. Skip the prep or color hard, and the same pen produces patchy, drying results.
The technique matters more than the brand. Once you have the sequence down, exfoliate, blot, outline, fill in sections, wait, build, blend, the format becomes one of the fastest ways to get a polished lip in under two minutes. Start with a sheer shade, practice the gradient look, and keep a balm nearby for comfort. That combination handles almost everything a marker can throw at you.
Frequently Asked Questions
How long does a lip stain marker last?
Most markers wear for four to six hours before fading noticeably, and the center of the lip fades first because it takes the most friction. Fading is gradual rather than flaky, which is the main advantage over heavier formulas. A balm on top extends comfort but not necessarily wear time.
Can I use a lip stain marker on dry lips?
You can, but the result will likely be patchy. Thin stains cling to flakes and skip smooth areas, so dry lips need exfoliation and a thin layer of balm first. Blot the balm before applying so the color can grip. If the lips are cracked, wait until they heal.
Is a lip stain marker the same as a lip tint?
Not exactly. A marker is a delivery format, a felt-tip pen, while a tint describes the formula type. Many markers contain tint formulas, but liquid tints in tubes with doe-foot applicators are a separate category. The marker offers more precision; the tube tint usually offers faster, fuller coverage.
How do I stop the stain from bleeding outside my lip line?
Trace the outline first, let it set for a few seconds, then fill the center. A small amount of concealer along the outer edge of the lip line adds a barrier. Avoid overloading the nib, since excess product is what travels into fine lines.
How do I remove a lip stain marker completely?
Use an oil-based cleanser or a balm. Massage it into the lips for about thirty seconds, wipe with a soft cloth, and repeat if needed. Water and standard makeup wipes struggle with stains because the pigment binds to the skin rather than sitting on top of it.
Do lip stain markers work for a natural everyday look?
They are one of the best formats for it. A single sheer layer gives a “my lips but better” effect that looks almost bare. For extra polish, add a fingertip-blurred gradient and a clear balm. The look stays light and holds up through a normal day.