
How to Start Watercolor Painting: Beginner Kit & Plan
 Abdul WadoodLast updated
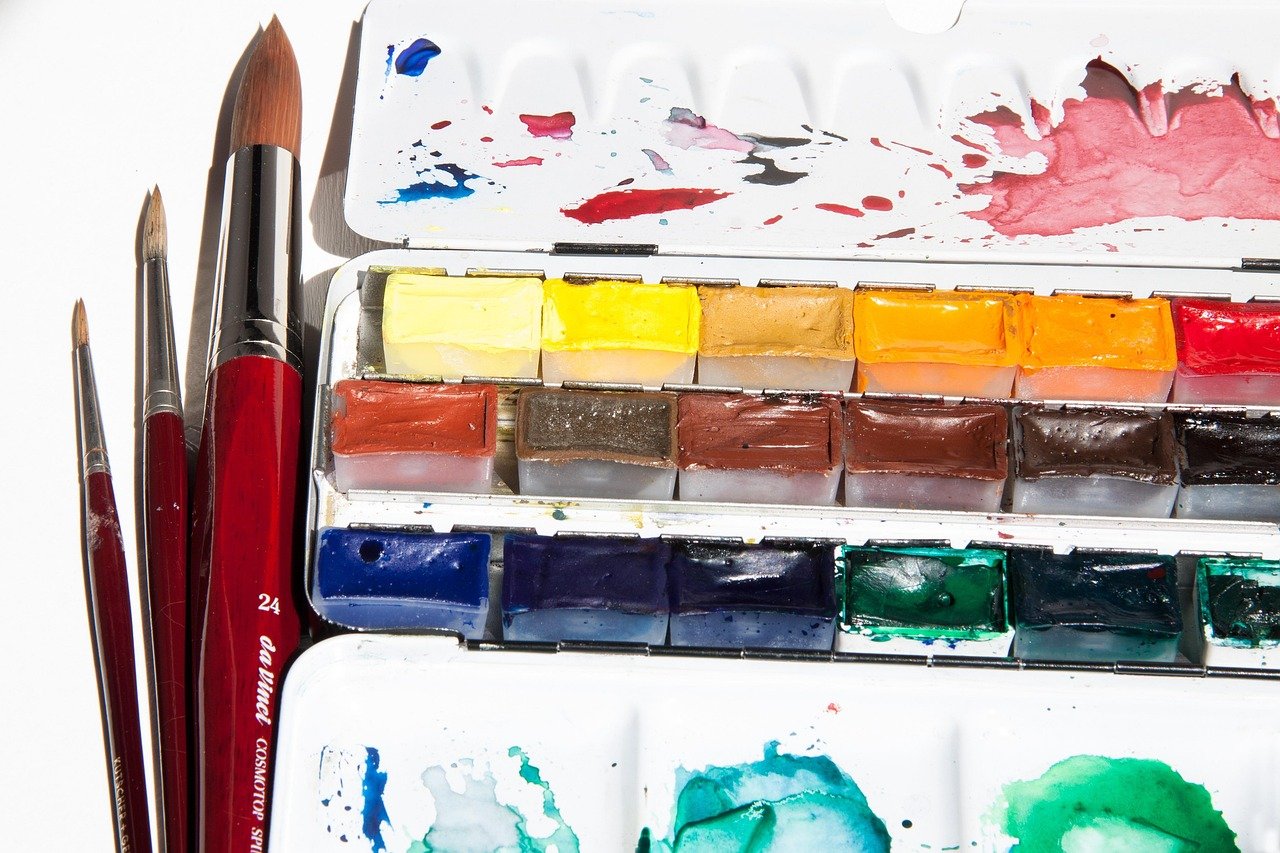
Watercolor is one of the oldest and most portable painting media in the world, and it is also one of the most forgiving for people who have never held a brush. Unlike oils, which can take days to dry, or acrylics, which stain clothing permanently, watercolor thins with plain tap water, cleans up in seconds, and lets a beginner produce a finished-looking wash on the very first attempt. That low barrier is exactly why so many hobbyists start here and stay for decades. (Watercolor painting)
The catch is that watercolor behaves nothing like the drawing and coloring most adults remember from childhood. It moves, it pools, it dries lighter than it looks when wet, and it punishes overworking faster than any other medium. The good news is that these quirks are learnable. This guide walks through the supplies that actually matter, the two core techniques, the mistakes that trip up nearly every beginner, and a realistic first-week practice plan.
What You Actually Need to Begin
Supply lists online tend to balloon into hundreds of dollars of gear nobody needs on day one. A beginner can start with a surprisingly short list, and it is better to buy a few good items than a giant cheap set that fights back.
| Item | What to Look For | Why It Matters |
|---|---|---|
| Paint | Student-grade pan set or a handful of tubes | Pans are portable and re-wettable; tubes give stronger color |
| Paper | Cold-press, 140 lb (300 gsm) | Thin paper buckles and pills when wet |
| Brushes | One round size 8–10, one round size 4–6, one flat | Round brushes do most of the work |
| Palette | A white ceramic plate or plastic well palette | You need white to judge mixed color accurately |
| Water | Two jars (clean and dirty) | Rinsing in dirty water muddies every mix |
| Extras | Rag or paper towel, masking tape, pencil | Tape holds paper flat; pencil guides the sketch |
Paper is the item beginners most often regret skimping on. Lightweight paper (90 lb or 190 gsm) cockles and warps the moment a wet wash hits it, and the surface starts to pill if you scrub at it. Cold-press paper has a subtle tooth that holds pigment beautifully and hides small brush wobbles. Hot-press paper is smooth and glossy but shows every mistake, so it is a poor first choice. Rough paper is textured and dramatic but harder to control for fine detail.
Paint quality matters less than paper quality at the start. Student-grade paints contain more filler and less pigment, which means colors look a bit chalky and mixes go muddy sooner, but they are perfectly serviceable for learning. A split primary palette — a warm and a cool version of red, yellow, and blue — lets a painter mix nearly every color they will need without buying a dozen tubes.
Understanding How Watercolor Actually Works
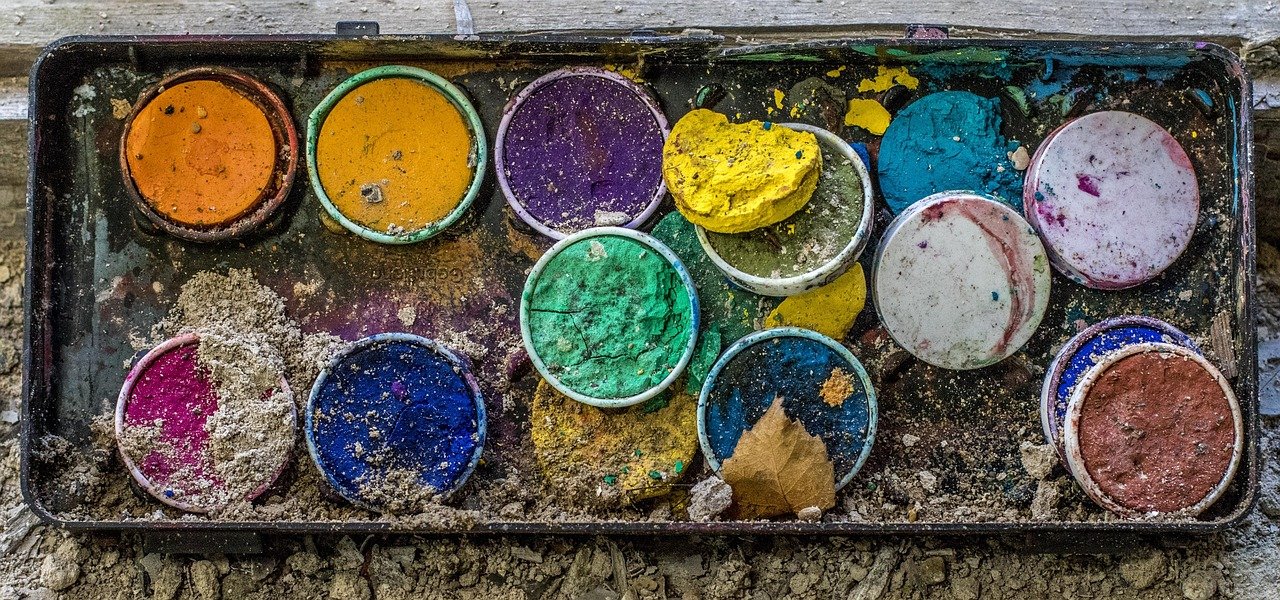
Watercolor is a transparent medium. There is no white paint doing the heavy lifting for highlights; the white of the paper is the white. That single fact changes how a painter thinks. Instead of building up from dark to light the way an oil painter does, a watercolorist plans ahead and reserves the lightest areas from the very first stroke. It is a planning medium disguised as a spontaneous one.
Pigment sits on the surface of the paper rather than soaking deep into it, which is why lifting color with a damp brush is possible and why overworking damages the paper’s sizing. The sizing is a thin coating that keeps paint from sinking in like a stain. Scrub at it too hard and the paper starts to fuzz, and no amount of paint will fix a fuzzy surface. (Copper Hair Color: How to Get, Keep & Love It in 2026)
The other thing to internalize early is that watercolor dries lighter. A wash that looks like a rich mid-tone while wet can dry two or three shades paler. Beginners consistently paint too dark, then overcorrect by adding more layers and losing the glow. Mixing a test swatch on scrap paper and letting it dry before committing to the real painting solves most of this.
The Two Techniques Everything Else Builds On
Nearly every watercolor skill descends from two approaches: wet-on-wet and wet-on-dry. Getting comfortable with both, and knowing when to use each, is the fastest route to paintings that look intentional rather than accidental.
Wet-on-wet
Wet-on-wet means applying paint to paper that is already damp. The pigment blooms and spreads on its own, creating soft edges and gradients that are almost impossible to control precisely. It is perfect for skies, distant hills, fog, water, and any area where softness is the goal.
The practical trick is to wet the paper evenly with clean water and let it settle for a moment until the shine goes slightly matte. If the surface is still glossy and pooling, paint will spread too far and create cauliflower-edged blooms. If it has dried completely, the technique collapses into wet-on-dry.
Wet-on-dry
Wet-on-dry means applying paint to completely dry paper. Edges stay crisp, shapes stay where they are put, and detail becomes possible. This is the technique for branches, architectural lines, foreground texture, and anything that needs a hard boundary.
Most finished paintings alternate between the two. A painter might lay a wet-on-wet sky, let it dry fully, then add wet-on-dry tree silhouettes on top. The single most common beginner error is failing to wait for a layer to dry completely before adding the next one, which turns crisp edges into muddy smears.
Water Control: The Skill Behind Everything
Ask any experienced watercolorist what separates a beginner from an intermediate painter and the answer is almost always water control. Pigment-to-water ratio governs everything: how transparent a color reads, how far it spreads, how intense the final value is, and whether a wash stays even or blooms. (Hair Dye: What Permanent Color Really Does in 2026)
A useful mental model is a scale from one to five. A mix at “one” is barely tinted water for the palest wash. A mix at “five” is thick, almost creamy pigment straight from the pan. Most painting happens between two and four. Beginners tend to load the brush with too much water and too little pigment, producing weak, washy results, then overcorrect in the other direction and end up with opaque, flat color.
A few practical habits fix this faster than any tutorial:
- Load the brush, then blot once on a rag before touching the paper. This removes the excess water that causes runaways.
- Mix more paint than you think you need. Running out mid-wash is what causes streaky, uneven layers.
- Keep two water jars. Rinse pigment off in the first, then rinse clean in the second. Dirty water is the fastest way to make every color look gray.
- Test every mix on scrap paper before it touches the painting, and let the test dry.
- Stop touching wet paint. The urge to “fix” a wash while it is still wet is responsible for more ruined paintings than any other habit.
The Mistakes That Trip Up Almost Every Beginner
Most beginner frustration traces back to a handful of predictable errors, and knowing them in advance saves weeks of confusion.
Drawing with a heavy pencil. Graphite repels water and shows through thin washes. Use a light 2H pencil and keep lines faint, or sketch on a separate sheet and transfer.
Working on unstretched thin paper. Tape the paper down on all four sides before starting. The tape holds it flat as it dries and gives a clean white border.
Painting details too early. Detail belongs at the end. Beginners often start with the smallest elements, then have nowhere to go. Block in the big shapes first, working light to dark and large to small.
Overworking an area. Every additional pass lifts pigment and damages sizing. Two or three layers is usually the limit before a wash starts to look tired.
Ignoring the color wheel. Complementary colors neutralize each other. Mixing a warm red with a cool green produces a useful gray, but mixing too many colors together produces mud. Keep mixes to two or three pigments.
Skipping the value sketch. A quick pencil thumbnail showing only light, mid, and dark shapes catches composition problems before any paint is wasted.
A Realistic First-Week Practice Plan
Progress in watercolor comes from repetition on small, low-stakes studies rather than from ambitious finished pieces. A week of focused practice on quarter-sheets will teach more than a month of struggling through one large painting.
Day 1: Swatches. Paint a grid of every color in the palette, both full strength and diluted. Label them once dry. This builds a mental map of what each pigment does.
Day 2: Flat washes. Paint ten even rectangles. The goal is zero streaks and zero blooms. This is harder than it sounds and is the foundation of everything else.
Day 3: Gradients. Paint washes that fade smoothly from dark to light. This trains the tilt-and-pull motion that keeps a wash moving without pooling.
Day 4: Wet-on-wet skies. Wet a rectangle, then drop in two or three colors and let them blend. No brushwork after the initial drops.
Day 5: Wet-on-dry shapes. Paint simple silhouettes — trees, rooftops, bottles — with crisp edges on dry paper.
Day 6: A simple object. Paint a single piece of fruit or a mug using both techniques: soft shadow first, crisp edges second.
Day 7: A small scene. Combine everything on one quarter-sheet. Keep it loose and expect it to be imperfect.
Choosing Colors and Building a Palette
A beginner palette does not need forty colors. Six to eight well-chosen pigments cover almost every subject. The classic starting set includes a cool blue, a warm blue, a cool red, a warm red, a cool yellow, a warm yellow, plus a burnt sienna and a yellow ochre for earth tones. From these, a painter can mix greens, purples, oranges, grays, and browns. (Red Hair: Why It’s Rare & the Real Risks to Know)
Pigment names vary between brands, and the same name can behave differently across manufacturers because they use different pigment formulations. Reading the pigment codes on the tube (such as PB29 for ultramarine or PR101 for a red iron oxide) is more reliable than trusting the marketing name. Two brands’ “burnt sienna” can be noticeably different in hue and opacity.
Mixing greens is a classic beginner stumbling block. Tube greens often look artificial, and pre-mixed convenience greens can kill a painting’s natural feel. Mixing a blue with a yellow gives a far more convincing green, and shifting which blue and which yellow are used produces an entire range from olive to emerald.
Paper, Brushes, and Care That Extend Their Life
Brushes last years if treated well and months if treated badly. The two rules that matter most: never let paint dry in the ferrule (the metal band), and never stand a brush on its head in a water jar. Rinse thoroughly after every session, reshape the tip with the fingers, and dry flat or tip-up.
Paper should be stored flat and away from damp. Humidity warps sheets and can activate the sizing unevenly. Masking tape should be removed slowly at a low angle once the painting is bone dry, or it will tear the paper’s surface. (Watercolour)
Pans should be allowed to dry fully before the palette is closed, or mold can develop. Tubes should be capped tightly and stored tip-up so pigment does not settle into the cap threads.
Conclusion
Beginning watercolor takes less talent than patience with a medium that rewards planning. The supplies are modest, the techniques are few, and the real skill — water control — is built through small, repeated studies rather than big ambitious projects. A beginner who buys decent cold-press paper, learns the difference between wet-on-wet and wet-on-dry, and paints ten flat washes before attempting a scene will progress faster than someone who skips straight to a finished piece.
The medium’s transparency is its challenge and its charm. Every painting is a negotiation between what the painter plans and what the water decides to do. That unpredictability is exactly what keeps watercolorists coming back, brush in hand, decades after their first wobbly wash.
Frequently Asked Questions
How much does it cost to start watercolor painting?
A functional beginner setup — student-grade paints, a couple of brushes, a pad of 140 lb cold-press paper, and a palette — typically costs far less than most people expect when compared with oils or acrylics. The single biggest quality upgrade per dollar is paper, so budget accordingly and buy fewer paints.
Can you learn watercolor painting on your own?
Yes, and most watercolorists do. The medium is unusually self-teaching because every stroke gives immediate feedback. Structured practice — swatches, flat washes, gradients — teaches faster than passive video watching, because the hand learns water control only by doing it.
Why do my watercolor paintings look muddy?
Muddy results almost always come from three causes: mixing too many pigments together, painting a new layer before the previous one is fully dry, or rinsing the brush in dirty water. Fixing any one of these improves results immediately.
What is the difference between wet-on-wet and wet-on-dry?
Wet-on-wet means paint applied to damp paper, producing soft, blended edges. Wet-on-dry means paint applied to dry paper, producing crisp, controlled edges. Most paintings use both, alternating between them as the work develops.
Do you need special paper for watercolor?
Yes. Watercolor paper is sized to resist water absorption and is heavier than drawing paper so it does not buckle. Cold-press paper at 140 lb (300 gsm) is the standard beginner choice because it holds up to wet washes and has a forgiving texture.
How long does it take to get good at watercolor?
Most people see clear improvement within a few weeks of regular short practice sessions. Real fluency with water control typically takes several months of consistent work, but the medium is enjoyable long before that point, which is what keeps beginners going.