
How to Start Flower Arranging: Beginner’s Guide 2026
 Abdul WadoodLast updated
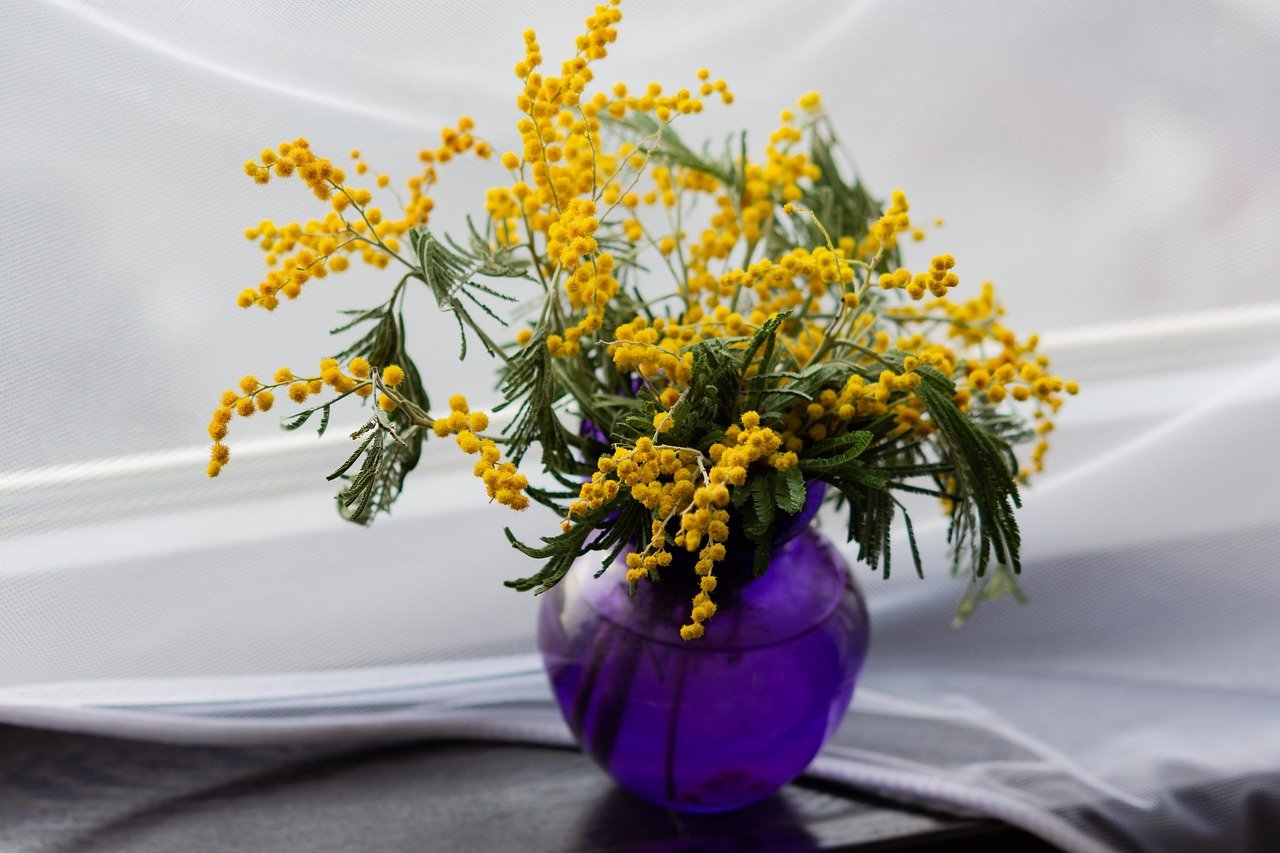
Walk into any supermarket and you’ll see bunches of tulips or roses stacked in buckets, waiting to be taken home. Most people grab them, trim the ends, and stuff them into a vase. The result is often a lopsided clump that droops within days. The good news: flower arranging is a learnable skill, not a talent you’re born with. With a few basic principles and some smart habits, anyone can go from “that looks fine, I guess” to arrangements that genuinely look designed.
This guide covers the practical steps: what to buy, how to prepare stems, how to build a shape that works, and the mistakes that quietly sabotage most beginner bouquets. It sticks to what holds up in practice rather than pretty pictures on social media.
Start With What You Already Have
The single biggest mistake beginners make is buying too much gear before they’ve arranged a single stem. Flower arranging doesn’t require a studio. It requires a vessel, something sharp, and water.
The bare-minimum toolkit
| Tool | Why it matters | Beginner-friendly note |
|---|---|---|
| Sharp snips or florist shears | Clean cuts improve water uptake | Bypass pruners from a hardware store work fine |
| A sturdy vase or jar | Holds water and supports stems | A wide-mouth jar is more forgiving than a narrow vase |
| Bucket for conditioning | Lets stems hydrate before arranging | Any clean bucket works |
| Flower food packet | Feeds stems and slows bacterial growth | Usually comes free with the bunch |
| Sharp knife | Some stems crush under dull blades | A clean cut matters more than the tool’s brand |
That’s it. Fancy pin holders, floral foam, and wire are optional extras you can add later once you know what you like. A wide-mouth vessel is genuinely easier for beginners because stems can lean against the rim instead of collapsing inward.
Choose forgiving flowers first
Not all flowers are equally patient with beginners. Some hold their shape, tolerate handling, and last a week or more. Others bruise, wilt, or drop petals the moment you look at them wrong.
Good starter flowers include carnations, chrysanthemums, tulips, alstroemeria, and sunflowers. These are sturdy, widely available, and relatively cheap, which matters when you’re practicing. Save delicate blooms like sweet peas or ranunculus for later, once your mechanics are solid.
A practical tip that saves money: buy one type of flower in a large quantity rather than five different types in small quantities. Arranging a dozen of the same stem teaches you more about spacing and shape than a mixed grab bag ever will.
Condition Stems Before You Arrange Anything
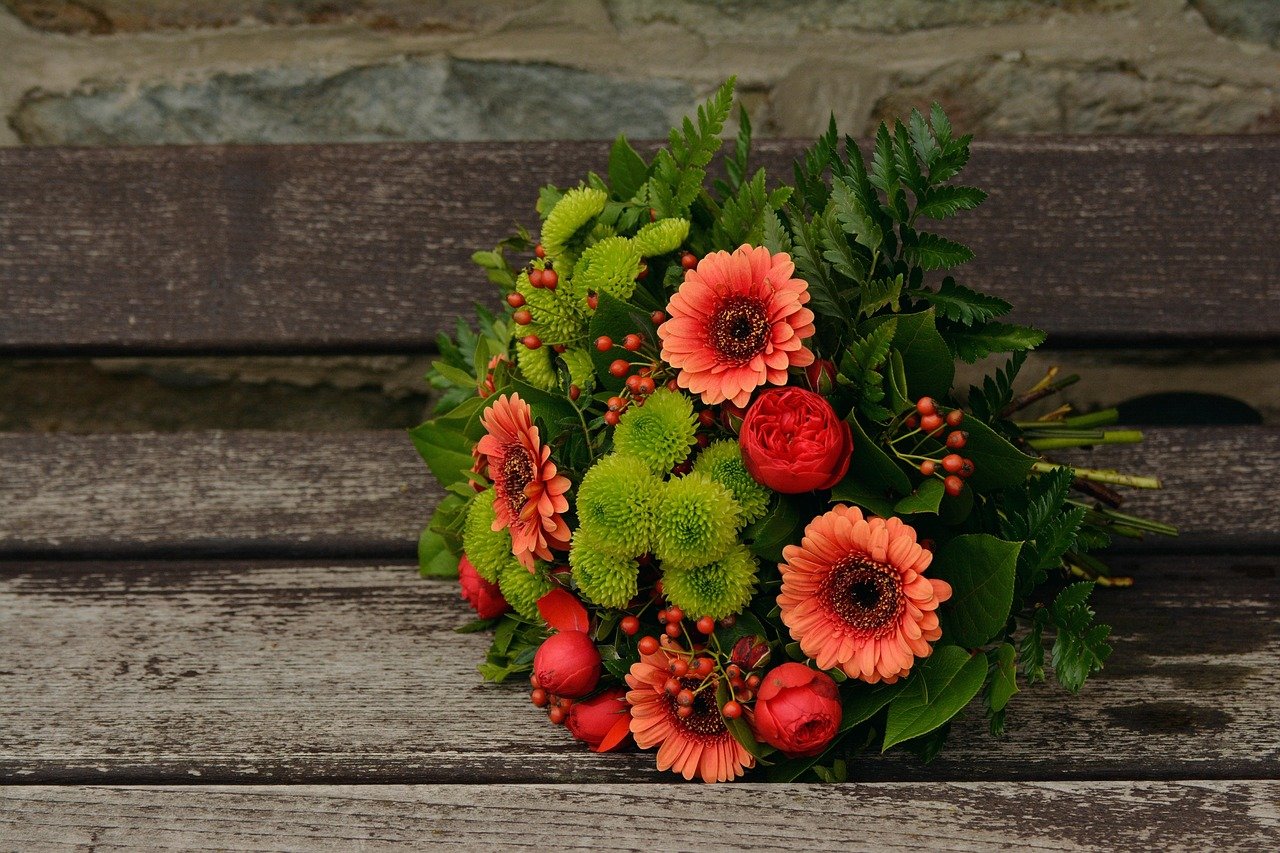
This is the step almost everyone skips, and it’s the one that separates a bouquet that lasts three days from one that lasts ten.
Conditioning means preparing stems so they can drink properly. The routine is simple:
- Fill a clean bucket with cool water and mix in the flower food.
- Strip every leaf that would sit below the waterline. Leaves underwater rot and turn the water cloudy, which shortens vase life fast.
- Cut each stem at an angle with sharp snips. A clean cut matters more than the exact angle, but an angled cut keeps the stem from sitting flat on the bottom of the vase.
- Place stems in the bucket immediately and let them rest in a cool, shaded spot for a few hours, ideally overnight.
Woody stems, like lilac or flowering branches, sometimes benefit from a small vertical slit at the base to help them take up water. Hollow stems, like delphinium, can trap air; filling them with water before arranging helps.
Patience during conditioning pays off more than any arranging trick. A well-hydrated stem holds its head up. A thirsty one droops no matter how cleverly you place it.
Learn Three Shapes and You Can Arrange Almost Anything
Flower arranging frameworks can get complicated, but beginners only need three shapes to cover most situations.
The dome or mound. Round, symmetrical, and forgiving. Start with a focal flower in the center, build outward in rings, and keep the overall silhouette gently rounded. This works for centerpieces and gifts.
The vertical line. Tall stems rising from a low base, with a strong vertical element and lower supporting material. Good for narrow spaces and modern interiors.
The asymmetric triangle. A taller element on one side, a lower mass on the other, with a focal point where they meet. This is the shape most florists reach for because it looks natural rather than manufactured.
A useful rule of thumb: odd numbers of stems look more natural than even ones. Three, five, and seven read as intentional; four and six can look like a matched set.
The focal point rule
Every arrangement needs somewhere for the eye to land. Pick one bloom or one cluster as the focal point and place it slightly off-center, roughly a third of the way across the arrangement. Then build supporting material around it and fill gaps with lighter, airier stems.
Beginners often place the biggest flower dead center, which makes the whole thing look stiff. Off-center placement reads as more natural and more confident.
Build in Layers, Not All at Once
The instinct is to hold every stem and push them in together. Resist it. Arranging in layers gives you control.
Start with greenery to establish the shape and hide the mechanics. Then add the focal flowers, then the secondary flowers, and finally the filler that softens edges and fills gaps. Each layer should still leave the arrangement looking a bit unfinished, because the next layer will complete it.
A practical technique: hold each stem at the height you want before cutting. Place it against the vase, decide where it should sit, then cut. Cutting first and hoping is how stems end up too short.
For a fuller look without more flowers, angle stems outward slightly rather than straight up. A fan shape uses fewer stems than a tight bundle and looks more generous.
Water, Temperature, and Vase Life
An arrangement is only as good as its water. Change it every two days, recut stems by a centimeter or so each time, and scrub the vase between changes. Bacteria, not thirst, is what kills most cut flowers early.
Keep arrangements away from direct sun, heating vents, and ripening fruit. Ripening fruit releases ethylene gas, which speeds up aging in flowers. A fruit bowl next to a bouquet is a quiet sabotage.
Cooler rooms extend vase life noticeably. If a bouquet needs to survive a warm weekend, move it to the coolest room in the house overnight.
There’s a persistent debate about home remedies: a spoon of sugar, a splash of bleach, a crushed aspirin. Flower food packets are formulated to do both jobs at once (feed the stems and limit bacteria), which is why they outperform improvised mixes. If you run out, a drop of bleach in fresh water is a reasonable stopgap, but it’s not a substitute.
Common Beginner Mistakes That Cost You
Most disappointing arrangements fail for predictable reasons. Here are the ones that come up again and again.
Too many flowers in too small a vase. Cramming stems compresses the arrangement and crushes blooms. Give stems room.
Leaving leaves underwater. This is the fastest route to cloudy water and a short vase life.
Cutting stems too short too early. Always arrange from tallest to shortest. You can always cut more; you can’t add length back.
Skipping the conditioning step. Rushing straight from shop to vase costs days of vase life.
Copying a photo exactly. Photos are styled, lit, and often use flowers that aren’t in season. Work with what’s available and let the arrangement be its own thing.
Ignoring the vessel’s proportions. A tall vase needs tall stems; a low bowl needs a wider spread. Match the arrangement to the container, not the other way around.
There’s also the floral foam question. Foam is convenient for beginners because it holds stems exactly where you place them, but it’s made of plastic and has drawn environmental criticism, with some venues and events restricting its use. For home arranging, a pin holder or a simple grid of tape across the vase mouth does the same job without the waste. (How to grow plants)
Practice With Cheap Flowers and Take Photos
The fastest way to improve is volume, not perfection. Buy a cheap bunch every week or two, arrange it, photograph it, and look at the photo the next day. Photos reveal problems the eye misses: gaps, leaning stems, uneven heights.
Progress in flower arranging comes from repetition, not from buying better flowers. Someone who arranges ten supermarket bunches will outpace someone who arranges one expensive bouquet.
Set a small constraint to force learning. Arrange the same bunch three ways: once as a dome, once as a vertical line, once asymmetric. The comparison teaches shape faster than any tutorial.
A Simple First Arrangement to Try This Week
Here’s a starting recipe that works with supermarket flowers and a basic jar.
- Pick up a bunch of chrysanthemums or carnations, a bunch of greenery, and a wide-mouth jar.
- Condition everything: strip lower leaves, cut at an angle, rest in water for two hours.
- Fill the jar two-thirds with fresh water and flower food.
- Place the greenery first, angled outward to form a loose base.
- Add the focal flowers, starting with the tallest in the middle-back and working forward and down.
- Fill gaps with shorter stems, keeping the overall shape rounded.
- Step back. If it looks lopsided, rotate the jar a quarter turn and check again from a new angle.
That last step matters more than people expect. Arrangements are three-dimensional, and what looks balanced from one side can look wrong from another.
Where to Learn More
Local options beat online tutorials for hands-on skills. Community college continuing education programs, botanical gardens, and independent flower shops often run beginner workshops where you leave with an arrangement and real feedback. Library shelves carry solid beginner books on floral design, and many public libraries run seasonal arranging classes.
For self-directed learners, the useful habit is studying arrangements you like and asking why they work: where is the focal point, what shape is it, how many stem types are there. That analytical eye develops faster than passive scrolling.
If you want to go deeper into visual storytelling and content around creative skills, resources like voozon.media cover how creative work gets documented and shared.
Conclusion
Starting flower arranging is less about talent and more about routine. Condition stems properly, learn three basic shapes, build in layers, and change the water. Those four habits will outperform any expensive tool or complicated technique. Buy cheap flowers, arrange them often, and photograph the results. The skill compounds quickly, and within a few months the supermarket bunch in your basket will start looking like something you designed on purpose.
Frequently Asked Questions
How much should a beginner spend on flower arranging supplies?
Very little. A pair of sharp snips, a wide-mouth jar, and a clean bucket cover the essentials. Skip floral foam, wire, and specialty vases until you’ve arranged a dozen bouquets and know what you actually reach for. Cheap supermarket bunches are better practice material than expensive florist stems.
How long should cut flowers last in an arrangement?
Most sturdy flowers last seven to ten days with proper conditioning, cool water, and regular water changes. Delicate blooms may only last three to five days. Recutting stems and refreshing water every two days is the single biggest factor in extending vase life.
Do I need floral foam to arrange flowers?
No. Floral foam is convenient for holding stems in place, but it’s plastic-based and has drawn environmental criticism, with some venues restricting it. A pin holder, a tape grid across the vase mouth, or simply a wide-mouth vessel with stems leaning on the rim all work for beginners.
What flowers are easiest for beginners to arrange?
Carnations, chrysanthemums, tulips, alstroemeria, and sunflowers are forgiving choices. They hold their shape, tolerate handling, and last well. Buy one type in a large quantity rather than a mixed bunch, because repetition teaches spacing and shape faster.
Should I cut flower stems straight or at an angle?
An angled cut is the standard advice because it keeps the stem from sitting flat against the vase bottom and exposes more surface for water uptake. In practice, a clean cut with sharp tools matters more than the angle. A crushed cut from dull blades is the real problem.
How often should I change the water in a flower arrangement?
Every two days is a good rhythm. Recut the stems by about a centimeter each time and rinse the vase. Cloudy water signals bacterial growth, which shortens vase life quickly. Keep the arrangement away from direct sun and ripening fruit, since ethylene gas speeds aging.