
How to Start Bread Making: Beginner’s Guide 2026
 Abdul WadoodLast updated
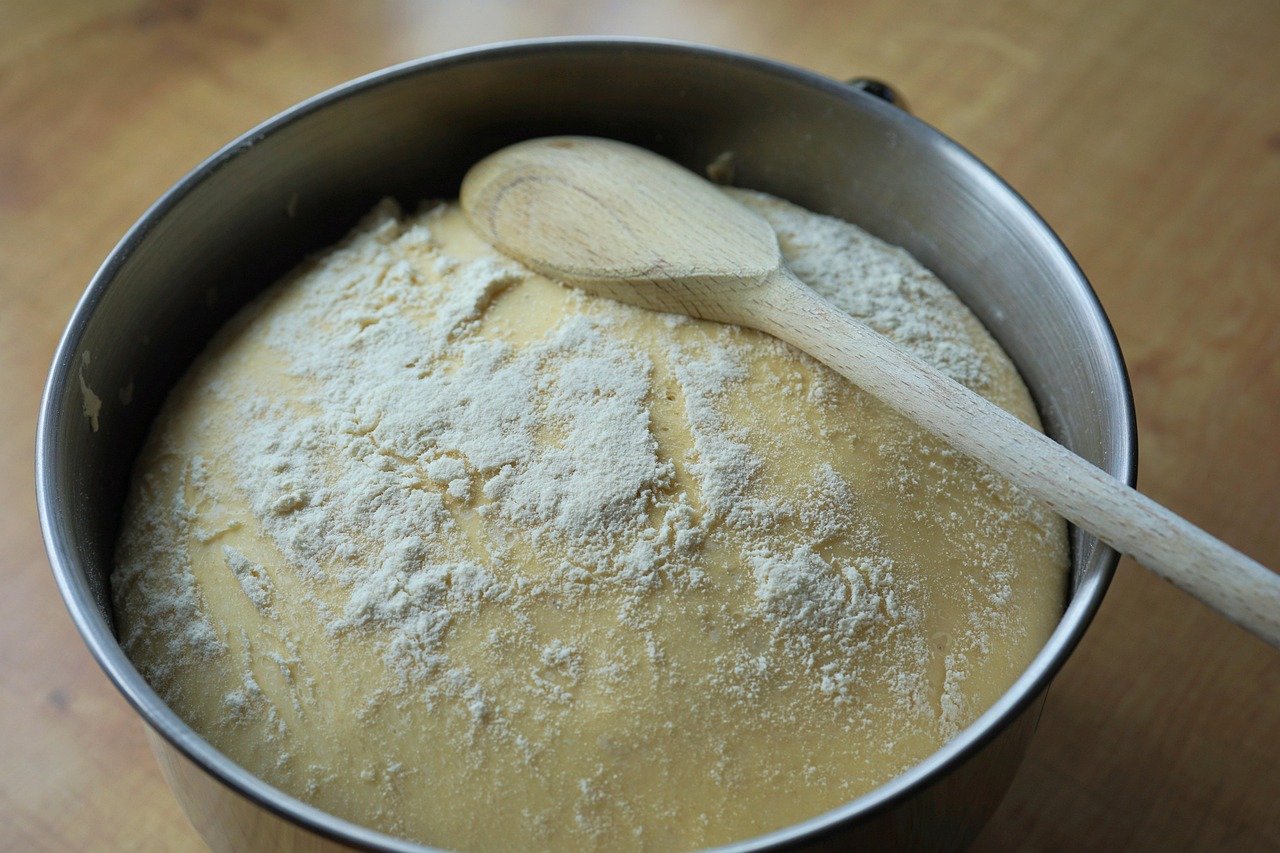
Roughly four ingredients stand between a total beginner and a warm loaf pulled from the oven: flour, water, yeast, and salt. That’s it. No stand mixer required, no pastry school diploma, no sourdough starter nursed for weeks. Yet home baking forums overflow with stories of bricks, gummy centers, and dough that refused to rise, and most of those failures trace back to a handful of avoidable mistakes rather than bad luck or missing talent.
The good news is that bread is forgiving once you understand what each step is doing. This guide walks through the whole process in plain language, from picking flour off the shelf to knowing when a loaf is genuinely done. It covers the tools worth buying, the mistakes that trip up nearly every first-timer, and the honest trade-offs between kneaded and no-knead methods. By the end, a reader should be able to shop, mix, shape, and bake a first loaf with confidence.
Why Bread Is the Friendliest Place to Start Baking
Bread rewards patience more than precision. Unlike cakes, where a few extra grams of flour or an overmixed batter can ruin the crumb, bread dough tolerates small errors. A little too much water? Add flour. Dough rising slowly? Give it more time. The process is self-correcting in ways that most baking is not.
There’s also a cost argument. A basic loaf costs pennies in ingredients, so a failed attempt wastes almost nothing. That low stakes makes bread an ideal training ground for learning how dough should feel, smell, and behave, which matters far more than following a recipe to the gram.
The Only Equipment Worth Buying First

Beginners often overspend before baking a single loaf. The truth is that a first loaf needs very little:
- A large mixing bowl — something with room for dough to double.
- A digital kitchen scale — the single best purchase for consistency. Weighing beats measuring cups every time.
- An instant-read thermometer — takes the guesswork out of water temperature and doneness.
- A sturdy wooden spoon or your hands — dough doesn’t need a machine.
- A loaf pan or a baking sheet — either works for a first lean loaf.
Everything else, from proofing baskets to baking stones, can wait. A Dutch oven is genuinely useful for crusty round loaves, but it isn’t required for the first bake.
Choosing Your Flour Without Overthinking It
Flour is the backbone of the loaf, and the main variable is protein content. Higher-protein flour develops more gluten, which gives bread its structure and chew. Bread flour typically sits in the 12–14% protein range, while all-purpose flour runs lower. Exact numbers vary by brand and country, so it pays to read the label rather than assume. In the UK, for instance, the equivalent product is usually sold as “strong flour.” (Bread)
Whole-wheat flour behaves differently. It absorbs more water and produces a denser loaf, so most beginners blend it with white flour, often at 25–50%, to keep things light. Starting with 100% whole wheat is possible but makes the learning curve steeper for no good reason.
If a reader is also figuring out hair and skincare routines alongside kitchen experiments, the same principle of reading labels carefully applies; a solid hair type chart guide makes the point well — know your material before you buy products for it.
Understanding Yeast: The Living Engine
Yeast is a living organism, and treating it accordingly solves most rising problems. There are two common types on supermarket shelves:
| Yeast type | How to use it | Best for |
|---|---|---|
| Active dry yeast | Proof in warm water first | Traditional recipes, beginners who want visual confirmation |
| Instant (rapid-rise) yeast | Mix straight into dry ingredients | Faster recipes, fewer steps |
Water temperature matters enormously. Active dry yeast generally wants water around 105–115°F (40–46°C) — warm to the touch, like a bath, never hot. Water above roughly 120–130°F (49–54°C) can kill the yeast outright, which is one of the most common reasons a first loaf fails to rise. Cold water doesn’t kill anything; it just slows fermentation down.
Manufacturer instructions on the yeast packet are the most reliable guide, since strains and formulations differ. When in doubt, follow the packet over any blog.
Step-by-Step: Mixing Your First Dough
The process is simpler than it looks. Here is the basic sequence for a lean yeasted loaf:
- Weigh the flour and salt into a large bowl and stir them together.
- Prepare the water at the temperature your yeast requires, then add the yeast.
- Combine wet and dry ingredients until no dry flour remains. The dough will look shaggy and rough.
- Rest for 15–20 minutes. This short pause, sometimes called autolyse, lets flour hydrate and makes kneading easier.
- Knead until the dough turns smooth and elastic.
- Bulk ferment until roughly doubled.
- Shape the loaf and let it proof a second time.
- Bake, then cool completely before slicing.
Salt deserves a special mention. It is not optional. Salt builds flavor, strengthens gluten, and regulates fermentation so dough doesn’t run away. Leaving it out produces a bland, pale loaf that rises too fast and collapses. Weigh it rather than eyeballing it.
Kneading, Stretch-and-Fold, and the Windowpane Test
Kneading develops gluten, the protein network that traps gas and gives bread its structure. The classic method is ten minutes of pushing, folding, and turning on a floured counter. It’s a workout, and beginners often under-knead because they stop when their arms tire rather than when the dough is ready.
The windowpane test settles the question objectively. Pinch off a small piece of dough and stretch it gently between your fingers. If it stretches thin enough to let light through without tearing, the gluten is developed. If it tears immediately, keep going.
No-knead and stretch-and-fold methods reach the same destination by a different road: time instead of muscle. Folding dough every 30 minutes during the first rise builds strength with almost no effort. Neither method is objectively better. Kneaded dough is faster; no-knead dough is more forgiving of a busy schedule. Choose based on temperament, not ideology.
Reading the Dough: Fermentation and Proofing
Recipes give time ranges, but dough doesn’t own a clock. Bulk fermentation commonly takes one to two hours at warm room temperature, longer in a cool kitchen and shorter with more yeast. The reliable signals are visual and tactile: the dough looks puffy, jiggles when the bowl is tapped, and has roughly doubled.
The second rise, called proofing, happens after shaping. A properly proofed loaf springs back slowly when poked with a floured finger. Too little proofing and the loaf tears open in the oven; too much and it deflates. This is where beginners learn to trust their senses over the timer.
Temperature is the hidden variable in all of this. A chilly kitchen can double rising times, and a warm one can halve them. On cold days, dough can be parked in an oven with the light on, or simply given more time.
Baking, Scoring, and Knowing When It’s Done
Before baking, slash the top of the loaf with a sharp blade. This scoring controls where the bread expands, preventing random blowouts. Steam during the first ten minutes of baking keeps the crust soft long enough for the loaf to rise fully, then a dry oven browns and crisps it. (Baking Guides)
Doneness is best judged with a thermometer rather than a timer. Most lean breads finish around 200–210°F (93–99°C) internally, though guidance varies slightly between sources. Tapping the bottom for a hollow sound is a useful backup check but less reliable than a reading.
One safety point that deserves emphasis: raw flour and raw dough should never be eaten. Flour is a raw agricultural product and can carry pathogens such as E. coli and Salmonella. The USDA Food Safety and Inspection Service publishes consumer guidance on this, and it applies to cookie dough just as much as bread dough. Wash hands and surfaces after handling flour.
Cooling matters too. Slicing a hot loaf seems irresistible, but the interior is still setting. Twenty to thirty minutes of cooling gives a much better crumb.
The Mistakes That Sink Most First Loaves
Certain errors show up again and again, and each has a simple fix:
- Killing the yeast with hot water. Use a thermometer, or test with a drop on the wrist.
- Skipping the salt. Weigh it. Every time.
- Adding flour by the cupful during kneading. This makes dough stiff and dry. If dough is sticky, wet hands help more than extra flour.
- Judging rise by the clock. Watch the dough, not the timer.
- Cutting too soon. Let the loaf cool.
- Baking in an oven that wasn’t preheated long enough. Give it a full 20–30 minutes.
For anyone who likes structured comparisons before committing to a purchase or a method, the same careful reading approach pays off elsewhere; a practical product guide format shows how matching a product to a specific need saves money and frustration.
No-Knead vs. Traditional: An Honest Comparison
| Factor | Traditional kneaded | No-knead overnight |
|---|---|---|
| Active time | 15–20 minutes | 5–10 minutes |
| Total time | 3–4 hours | 12–18 hours |
| Equipment | Bowl, counter | Bowl, Dutch oven helps |
| Difficulty | Moderate | Very low |
| Flavor | Good | Often deeper, from long fermentation |
Neither wins outright. No-knead suits people with unpredictable schedules and rewards patience with flavor. Traditional kneading teaches dough handling faster because feedback is immediate. Many bakers eventually use both, depending on the day.
Conclusion
Starting bread making comes down to four ingredients, a scale, and the willingness to watch dough instead of a clock. The skills build quickly: within three or four loaves, most beginners can tell by touch when dough is kneaded, when it has risen, and when it needs more time. Failures are cheap and instructive, and the payoff is a kitchen that smells like a bakery for the price of a bag of flour.
The most useful mindset is curiosity rather than perfectionism. Keep notes on what worked, adjust one variable at a time, and let the process teach. The first loaf rarely wins prizes. The fifth usually does.
How long does it take to make bread from scratch?
A simple yeasted loaf takes about three to four hours from mixing to cooling, including two rises. No-knead versions stretch across 12–18 hours but require only minutes of hands-on work. Timing shifts with kitchen temperature, so treat any recipe’s clock as a rough guide.
Can I make bread without a stand mixer?
Yes. Bread was made by hand for thousands of years. A bowl, a wooden spoon, and a clean counter are enough. Stretch-and-fold techniques build gluten with even less effort than traditional kneading.
Why didn’t my bread rise?
The most common culprits are water that was too hot and killed the yeast, expired yeast, or a kitchen too cool for the dough to ferment in the expected time. Check the water with a thermometer and give dough more time before assuming failure.
What’s the difference between active dry and instant yeast?
Active dry yeast typically needs proofing in warm water before mixing, while instant yeast can go straight into dry ingredients. Both work in most recipes, but liquid amounts and rise times may need small adjustments.
Do I have to use bread flour?
No, but it helps. Bread flour’s higher protein content produces a stronger gluten network and a better rise. All-purpose flour works fine for many loaves; results will simply be a little softer and less chewy.
Is it safe to eat raw dough?
No. Raw flour can carry harmful bacteria such as E. coli and Salmonella, and raw dough also contains live yeast and uncooked eggs in some recipes. Always bake dough thoroughly and clean surfaces after handling flour.