
Best Voice Recorders for Interviews: 2026 Field Guide
 Abdul WadoodLast updated
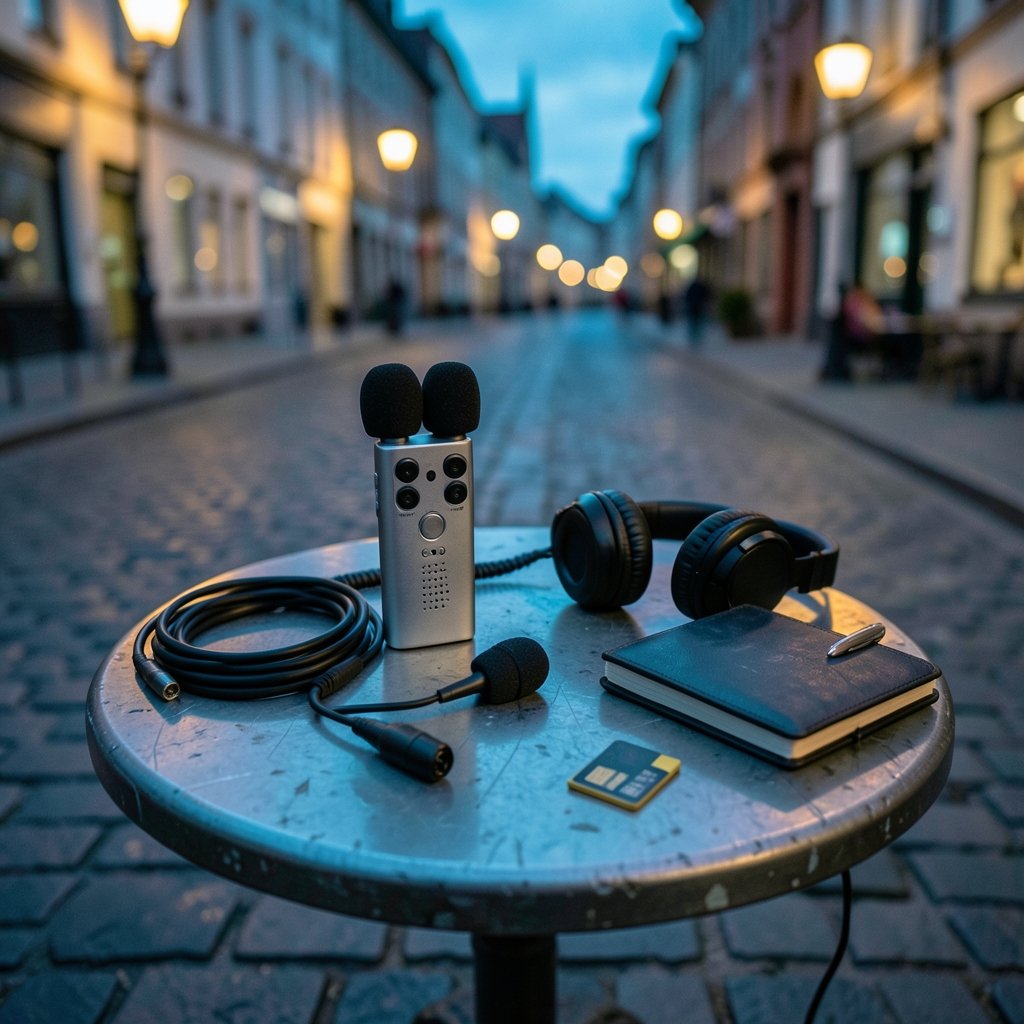
A recording that clips, hisses, or picks up a jacket zipper can ruin an interview you can never redo. That is why experienced journalists treat the recorder as the least interesting part of the kit and the microphone as the part that decides everything. The recorder just needs to stay out of the way: clean preamps, honest battery life, and a file you can actually find later. This guide breaks down the categories that matter, the specs worth comparing, and the mistakes that quietly wreck interview audio.
Why the Recorder Is Rarely the Weak Link
Most people shopping for an interview recorder assume the device is the bottleneck. In practice, the chain looks like this: microphone placement first, room and handling noise second, preamp quality third, and recorder features a distant fourth. A mid-range handheld with a well-placed lavalier will beat a flagship recorder with a mic sitting on a table three feet away, every single time. (Microphone)
That said, the recorder sets your ceiling. A noisy preamp raises the noise floor on quiet speakers. A weak limiter lets a laugh or a cough clip into distortion. A confusing menu costs you the first thirty seconds of a conversation while you fumble for the record button. Good interview recorders are judged on how little they interfere.
The Three Recorder Categories That Cover Most Interviews
Handheld Recorders With Built-In Mics
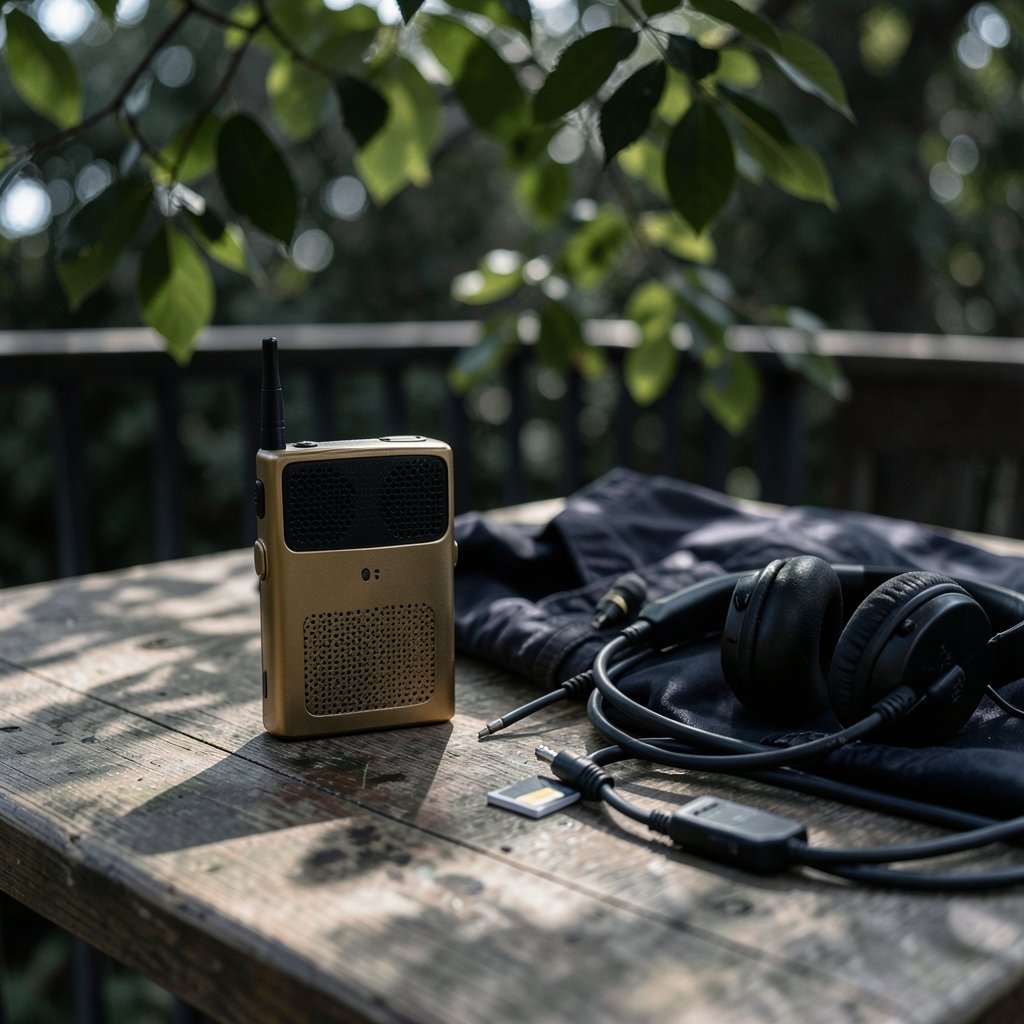
This is the default for solo interviews, field reporting, and anyone who wants one device in a pocket. Models in the Zoom H-series, Tascam DR-series, and Sony PCM-series follow the same rough formula: a pair of built-in condensers, an SD card slot, a headphone jack, and increasingly, XLR inputs for external mics.
The built-in mics on these devices are genuinely usable for a two-person sit-down across a small table. They are not usable for a walking interview or anything outdoors in wind. The real appeal of this category is the XLR input: buy a handheld once, add a proper microphone later, and the recorder keeps earning its place.
Lavalier and Bodypack Systems
For on-camera interviews, documentary work, and any situation where the subject should forget the gear exists, a lavalier clipped to clothing is the standard. The recorder either lives in a pocket as a small bodypack or sits nearby receiving a wireless signal.
Lav placement matters more than the recorder model here. Clip too high and you get chin noise; clip too low and the voice sounds chesty. Clothing rustle is the number one complaint, and it is solved with a bit of tape, a fabric mount, or simply routing the cable under a layer of clothing rather than across it.
Phone and Interface Setups
A smartphone with an external microphone through a Lightning or USB-C adapter is a legitimate interview rig. The built-in phone mic is not. It is designed for speakerphone calls, picks up handling noise from your hand, and sounds thin at conversational distance. Plug in a lav or a small shotgun mic and the phone becomes a perfectly serviceable recorder with the bonus of instant backup to cloud storage.
Specs Worth Comparing Before You Buy
| Spec | Why it matters | What to look for |
|---|---|---|
| Mic self-noise (dB SPL, A-weighted) | Sets the hiss floor on quiet voices | Lower is better; compare like for like |
| Maximum SPL | Headroom before the mic itself distorts | Generous headroom for loud rooms |
| Preamp gain and noise | Quality of external mic input | Clean gain without audible hiss |
| Recording format | Editing flexibility | 24-bit WAV as a baseline |
| Battery life | Whether it survives a long day | Real-world hours, not marketing hours |
| Storage | Redundancy and capacity | SD/SDXC, dual slots if available |
Two notes on reading these numbers. First, self-noise figures are only comparable when measured the same way, A-weighted and referenced to the same standard. A manufacturer quoting an unweighted figure will look worse than one quoting a weighted figure even if the mics are identical. Second, 24-bit WAV should be treated as the minimum. It gives you enough range between the quietest and loudest parts that modest level mistakes remain fixable in editing.
What 32-Bit Float Actually Solves
32-bit float recording has become a headline feature on recent Zoom and Tascam models, and it is genuinely useful. It captures so much range between quiet and loud sounds that a sudden laugh or a dropped coffee cup does not destroy the take, because the level can be pulled down afterward without the distortion that comes from a clipped 24-bit file.
What it does not do is fix a bad microphone position, a noisy room, or a preamp that hisses. Treat 32-bit float as insurance against level mistakes, not as a substitute for setting levels sensibly. The recording still sounds like the room you recorded in. And check the noise floor independently: a wide range from noise floor to peak does not guarantee a low noise floor.
Redundancy: The Habit That Saves Interviews
Professional interview rigs almost always record a safety track. That means either a second file at a lower gain running simultaneously, or a second card recording the same audio. If the primary file clips, the safety saves you. If a card fails, the second card saves you.
The practical version for a solo interviewer is simpler: record the same interview on two devices if you can. A handheld on the table plus a phone running a backup recording costs nothing and has rescued more interviews than any single feature. Check both files before the subject leaves the room. Not after. Before.
Outdoor Interviews: Wind and Handling Noise
Wind is the most common cause of unusable outdoor audio, and foam windscreens are weak protection. A foam cover handles a light breeze; anything stronger needs a furry windscreen in the Rycote style, which disrupts airflow before it reaches the capsule. If you record outdoors regularly, budget for one.
Handling noise is the indoor equivalent. Every time your hand touches the recorder, the mics pick up the vibration. The fixes are cheap and unglamorous: set the recorder on a soft surface, use a shock mount if you have one, and never hold a handheld recorder by the body while someone is talking. A small tripod or a folded cloth under the device does more for audio quality than upgrading the recorder.
Practical Setup Tips That Actually Work
- Test levels with the loudest expected sound. Ask the subject to laugh, or clap once. Set gain so the loudest moment peaks comfortably below clipping, not so the quiet voice sits at the top of the meter.
- Record a room tone. Thirty seconds of silence in the interview space gives an editor the noise profile needed to clean up hiss later.
- Say the file name out loud at the start. A spoken slate saves hours when you have forty files named REC001.
- Check the card before you leave. Play back ten seconds. Confirm it is there.
- Carry spare batteries in the bag, not the car. Battery doors and cold weather are a bad combination.
- Lock the controls. Most handhelds have a hold function. Use it so a pocket press does not stop the recording.
The most common mistake is not buying the wrong recorder. It is buying a good recorder and then recording from too far away. Microphone distance dominates everything else in the chain, and no feature list compensates for a mic across the room. (NPR Ethics Handbook)
Matching the Recorder to the Interview
A single “best” recorder does not exist, because interviews differ. A two-person sit-down in a quiet office needs almost nothing: a handheld with built-in mics on a soft surface will do. A noisy conference floor needs a lavalier on each speaker and a recorder with clean preamps. A documentary shoot with multiple subjects over several days needs redundancy, generous storage, and batteries that last.
The sensible approach is to buy for the hardest interview you actually do, not the easiest. If that means a handheld with XLR inputs and a separate lavalier, buy those two things and skip the flagship model. The money is better spent on the microphone.
Conclusion
The best voice recorder for interviews is the one that disappears: clean preamps, honest battery life, a format you can edit, and a hold button that prevents accidents. Handhelds with XLR inputs cover most situations, lavaliers handle on-camera work, and a phone with an external mic is a real option rather than a compromise. Spend your attention on microphone placement, wind protection, and a backup recording, because those three habits decide whether the interview is usable far more than any spec sheet. Buy once, learn the menu before the subject sits down, and always check the file before you pack up.
Frequently Overlooked Details That Decide Audio Quality
Beyond the headline specs, a few quieter factors separate a recorder that works from one that frustrates.
Menu speed and one-touch recording. In a real interview, the subject starts talking before you are ready. A recorder that requires five button presses to arm is a recorder that misses the first sentence. Look for a physical record button and a hold switch you can operate by feel, in a pocket, without looking.
Gain dials versus digital gain. A physical gain knob lets you adjust levels mid-sentence without menu-diving. Digital gain applied after the preamp raises the noise floor along with the voice. If the recorder offers both, use the analog stage first.
Headphone monitoring that actually works. Monitoring is not a luxury; it is how you catch a dead lav cable or a rustling collar before the interview ends. Confirm the headphone output is loud enough in a noisy room and that the jack is a standard 3.5mm rather than a proprietary connector.
File naming and metadata. Recorders that let you set a project name and auto-increment file numbers save enormous time in editing. A folder of files named `INTERVIEW_001` through `INTERVIEW_040` is far easier to manage than `REC001` scattered across cards.
Firmware and card compatibility. Some recorders are picky about SD card brands and speeds. Check the manufacturer’s approved card list before a shoot, format the card in the recorder rather than on a computer, and update firmware before the interview, not during it.
A Short Buying Checklist
If you are standing in a store or comparing listings online, run through these in order:
- Does it accept an external microphone through XLR or a locking 3.5mm jack?
- Is the preamp quiet enough for a soft-spoken subject at conversational distance?
- Does it record 24-bit WAV, and does it offer 32-bit float as a bonus?
- Will the battery last a full interview day, and are spares cheap and standard?
- Can you start recording with one hand and confirm it is running with a glance?
- Does it have a hold function and a headphone jack?
If the answer to the first four is yes, the recorder will handle nearly any interview you throw at it. The last two determine whether you will actually enjoy using it.
Final Word
Interviews are conversations first and recordings second. The gear should serve the conversation, not interrupt it. A recorder you understand completely, paired with a microphone placed close and a backup running quietly in the background, will outperform a more expensive setup operated under pressure. Learn one device thoroughly, practice the setup until it takes under a minute, and keep spare batteries and a windscreen in the bag. The best interview audio is the audio nobody had to think about.