
How to Inspect a Classic Car Before Buying: 2026 Checklist
 Abdul WadoodLast updated
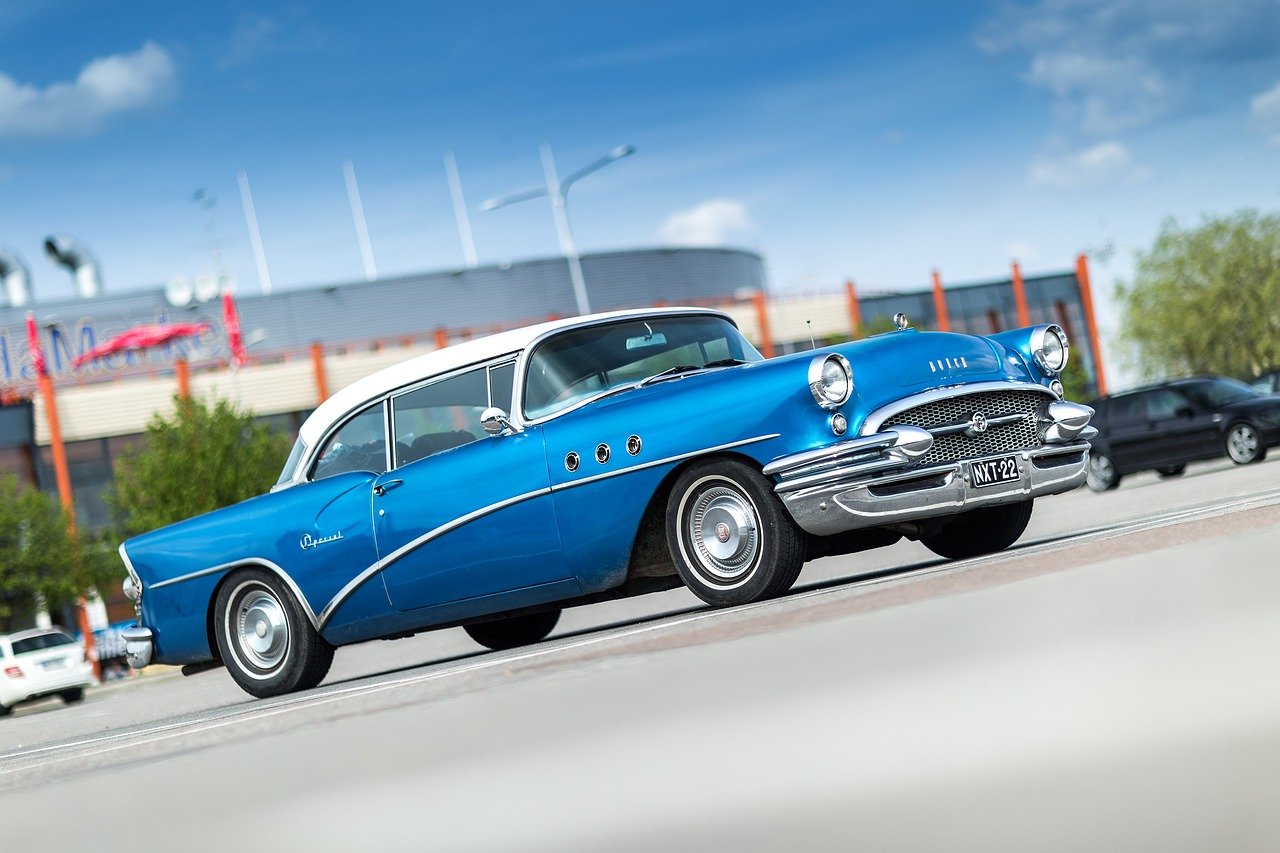
Few purchases combine excitement and risk quite like a classic car. Industry estimates suggest that rust repairs alone can consume anywhere from 30% to 50% of a restoration budget, which explains why experienced buyers spend more time lying under a car than sitting behind the wheel. A charming paint job can hide a structural nightmare, and a smooth test drive can mask a gearbox that is one hard shift from failure. This guide walks through a practical, methodical inspection process, from the first phone call to the final walk-away decision.
Start With the Paperwork Before You Touch the Metal
The most expensive mistakes in classic car buying often happen before the bonnet is even opened. Documentation is the foundation of value, and it deserves the first hour of your attention.
Ask to see the registration document (a V5C in the UK, a title in the US) and check that the seller’s name, the vehicle identification number (VIN), and the engine details all match the car in front of you. Then request the service history, old MOT certificates or inspection records, restoration photos, and receipts for major work. A seller who has a thick folder of invoices is telling you something important: they cared enough to keep records. A seller who has nothing but a verbal story is telling you something too. (Vehicle inspection)
Watch for “restored” claims without evidence. Undocumented restorations are one of the most common risks in the market, because patch panels, filler, and fresh underseal can conceal serious corrosion. If the seller cannot produce photos of the work in progress, price the car as though the restoration never happened.
Choose the Right Conditions for the Inspection

Where and when you inspect matters more than most buyers realise.
- Go in daylight. Artificial light flatters paint and hides overspray, uneven panel gaps, and filler texture.
- Insist the engine is cold. Arrive early or ask the seller not to start the car before you get there. A pre-warmed engine can disguise cold-start rattles, smoke, and fuel delivery problems.
- Bring a magnet, a torch, a small mirror, and a rag. A weak fridge magnet will not stick to filler or fibreglass repairs. The mirror lets you see behind panels and under sills.
- Bring a friend. A second pair of eyes catches what enthusiasm blinds you to.
This is also the moment to decide whether you need a specialist. For high-value or rare models, a marque-specific inspector is almost always worth the fee. For a sub-£5,000 project car, a thorough self-inspection plus a club forum’s model-specific guide may be enough. There is no universal threshold, so let the car’s value and your own skill set decide.
Rust: The Deal-Breaker You Must Check First
If you remember one rule from this article, make it this: rust decides the deal. Mechanical parts can be rebuilt or replaced; structural corrosion is where budgets go to die.
Check these areas methodically, in this order:
- Sills and rockers — run your hand along the full length, tap gently with a screwdriver handle, and listen for a dull thud that signals filler or thin metal.
- Wheel arches — look inside the arch as well as at the visible lip. Fibreglass arch covers are common and can hide advanced rot.
- Floor pans — lift the carpets if the seller permits. Damp carpet plus a smell of mould is a warning sign.
- Boot or trunk floor — water pools here, and so does corrosion.
- Chassis rails and subframes — structural, expensive, and often overlooked.
- Around window seals and the base of the windscreen — leaks start here and rot follows.
- Battery tray and inner wings — classic corrosion hotspots on almost every model.
Use the magnet along panels and sills. Where it refuses to stick, ask why. A small patch of filler is normal on a 50-year-old car; a magnetic dead zone across an entire sill is a negotiation point at best and a walk-away at worst.
Look for mismatched panel gaps, overspray on rubber seals, and fresh underseal applied only in certain areas. All three suggest recent cosmetic work covering something deeper.
Check the Body, Paint, and Trim With a Critical Eye
Paint condition tells you about the car’s life. Look along each panel from a low angle with the light behind you. Waviness, sanding marks, and colour mismatch between panels all point to repairs.
Then check the details that are quietly expensive to fix:
- Chrome and stainless trim: pitting, dents, and missing pieces. Rechroming is costly, and rare trim can be nearly impossible to source.
- Glass: chips, delamination, and correct date-coded markings.
- Rubber seals: perished door and window seals let water in and are fiddly to replace.
- Lights and lenses: cracks, faded plastic, and incorrect units.
Interior trim deserves equal attention. Test every switch, gauge, light, window, and heater control. Classic wiring and trim parts are often scarce and pricey, and a non-working gauge can mean a simple bulb or a loom fault. Sit in every seat, open and close every door twice, and check the boot floor and spare wheel well for damp.
Verify the Engine and Numbers
On collectible models, numbers matching matters enormously to value. The engine, gearbox, and body tags should agree with the documentation. Definitions of “matching numbers” vary by marque and era, so check the model-specific club guidance for your car before you rely on any single interpretation. Restamped or replacement engines are not automatically bad, but they should be reflected in the price.
With a cold engine, work through this sequence:
- Cold start. Listen for rattles, tapping, and exhaust smoke. Blue smoke suggests oil burning; white smoke on a warm engine can mean coolant issues.
- Idle quality. A lumpy idle on a carburetted car may be tuning, or may be worn internals.
- Fluids. Check oil colour and level, coolant condition, brake fluid, and look for seepage around the engine, gearbox, and differential.
- Leaks. Place clean cardboard under the car, run the engine, and check again after the test drive.
- Belts, hoses, and wiring. Cracked rubber and brittle, taped-up wiring are cheap to spot now and expensive to fix later.
If the seller resists a cold start or rushes you past the engine bay, treat that as information. The same applies to a car that has been “warmed up for you” — a classic pre-warming trick.
Take the Test Drive Seriously
A classic car drives differently from a modern one, so drive it the way you intend to use it. Warm it up properly, then cover city streets, a fast road, and a hill.
| What to test | Warning signs |
|---|---|
| Gearbox and clutch | Crunching on downshifts, slipping clutch, whining in a particular gear |
| Brakes | Pulling to one side, spongy pedal, grinding, vibration |
| Steering | Excessive play, wander, clunks over bumps |
| Suspension | Knocks, bangs, a floaty or harsh ride |
| Cooling | Temperature climbing under load or in traffic |
| Electricals | Flickering lights, dead gauges, slow wipers |
| Overdrive or auxiliary systems | Failure to engage or disengage cleanly |
After the drive, park on clean ground and look underneath again. Fresh drips after a run are far more revealing than a dry engine bay before one. Check the tyres too: date codes matter, because old rubber can look fine and grip like plastic. Uneven wear points to suspension or alignment problems.
Know What You Are Buying Into
Mechanical sympathy is not the only thing you need. Ownership costs vary wildly between models. A common, well-supported car with a strong parts network is a very different proposition from a rare model with unobtainable trim and a single specialist supplier. Before committing, price the consumables: tyres, brakes, servicing, and the parts you already know the car needs. (Shark Hair Dryer 2026: What to Know Before Buying)
It also helps to study how build quality and design details differ between models and eras. Buyers who understand what makes a well-sorted example often spot shortcuts faster, whether they are reading a breakdown of the details that make a classic or comparing notes with owners at a club meet. The same principle applies to modern cars: knowing which design and engineering details define a good example helps you judge condition rather than mere appearance, as explored in this look at the design details that define a driver’s car.
Negotiate With Evidence, Not Emotion
By the end of a thorough inspection, you should have a written list of faults. Use it. Price the repairs honestly, add a contingency of 20–30% for the things you cannot see, and make an offer grounded in that arithmetic rather than in how much you love the colour.
Decide your walk-away number before you arrive, and be willing to use it. The best classic car purchases are the ones where the buyer stayed patient. There will always be another car, and the market rewards those who can say no. (National Highway Traffic Safety Administration)
Conclusion
Inspecting a classic car before buying is a discipline, not a vibe check. Start with the paperwork, inspect in good light with a cold engine, hunt rust before you admire paint, verify the numbers, and drive the car properly. Bring a magnet, a torch, and a sceptical friend. Price the faults you find, add a contingency, and negotiate with evidence. Do that consistently, and you will avoid the two classic buyer traps: paying restoration money for a car that needs restoring, and falling for a shiny paint job stretched over structural rot.
Frequently Asked Questions
How long should a classic car inspection take?
A serious inspection takes at least two hours, and often half a day if you are checking paperwork, cold-starting the engine, and completing a proper test drive. Rushing is the most common buyer mistake. If a seller will not give you that time, that is a red flag in itself.
Should I always pay for a professional inspection?
Not always, but often. For high-value or rare models, a marque specialist is nearly always worth the fee. For cheaper project cars, a thorough self-inspection plus model-specific club guidance can be sufficient. Let the car’s value and your own experience decide the threshold.
What is the single biggest thing to check on a classic car?
Rust. Structural corrosion in sills, floor pans, chassis rails, and wheel arches is the most expensive problem to fix and the most commonly hidden one. A magnet, a torch, and a careful tap test will tell you more than any polished paintwork.
What does “numbers matching” mean, and does it matter?
It means the engine, gearbox, and body identification numbers agree with the car’s original documentation. It matters a great deal on collectible models because it affects value and provenance. Definitions vary by marque and era, so check model-specific club guidance rather than relying on a single rule.
Is a cold start really that important?
Yes. A cold start reveals rattles, smoke, and fuel delivery problems that a pre-warmed engine can disguise. Arrive early or ask the seller not to start the car before you get there. If they refuse, treat it as a warning sign and adjust your offer or walk away.
How do I know if a restoration was done properly?
Ask for photographs of the work in progress and receipts for parts and labour. Undocumented restorations are a common risk, because filler and fresh underseal can hide serious corrosion. If there is no evidence, price the car as though the work still needs doing.