
How to Organize Travel Memorabilia: A Practical System
 Abdul WadoodLast updated
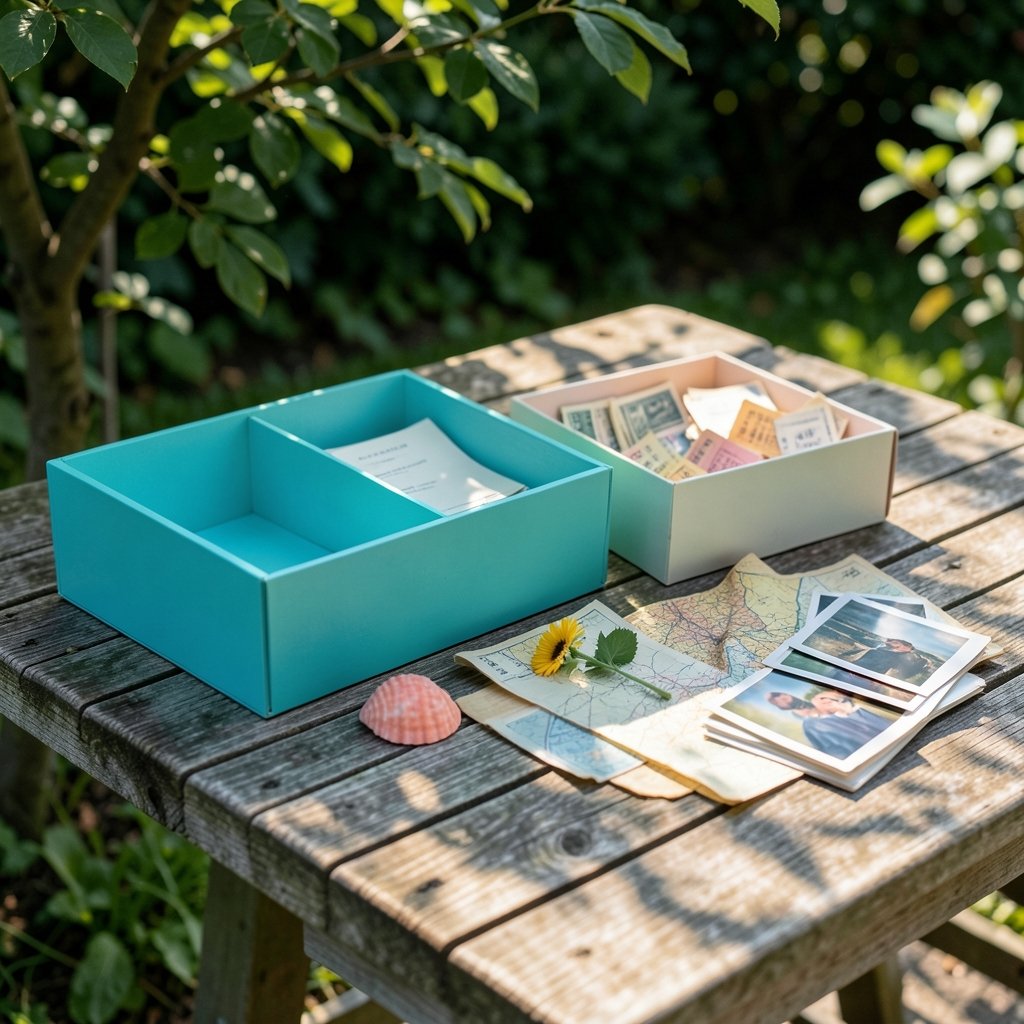
A single museum-style storage box, a shoebox of ticket stubs, and a well-labeled digital folder can preserve decades of trips better than a closet full of unsorted souvenirs. That is the quiet secret of people whose travel collections look curated instead of chaotic: they organize as they go, not in one heroic weekend every five years.
Most travelers don’t have a storage problem. They have a decision problem. Every object that comes home — the boarding pass, the seashell, the pressed flower, the receipt from that tiny restaurant — needs a verdict: keep, display, digitize, or let go. This guide walks through a realistic system for making those calls, storing what matters safely, and keeping the whole thing from swallowing a closet.
Why Travel Memorabilia Piles Up So Fast
Travel souvenirs are emotional objects with practical problems. They arrive in bursts, they come in wildly different materials — paper, fabric, sand, glass, food — and each material has its own storage needs. A paper boarding pass fades in sunlight. A cotton t-shirt yellows when folded against acidic cardboard. A shell collected on a beach may still carry moisture and salt.
Professional conservators treat these as separate categories with separate rules. Paper and photographs generally do best in acid-free, lignin-free enclosures kept in cool, dry, dark conditions, because light and humidity are the main drivers of decay. Textiles prefer to be stored folded and padded rather than hung long-term. Adhesives — tape, glue, self-stick album pages — are widely discouraged for anything meant to last, since they stain and fail over time.
The takeaway for travelers is simple: sort by material, not by trip. A “Japan 2023” box sounds tidy, but mixing a silk scarf, a paper train ticket, and a ceramic chopstick rest in one container means one storage environment has to serve three very different objects.
Start With a Sorting Day, Not a Shopping Spree
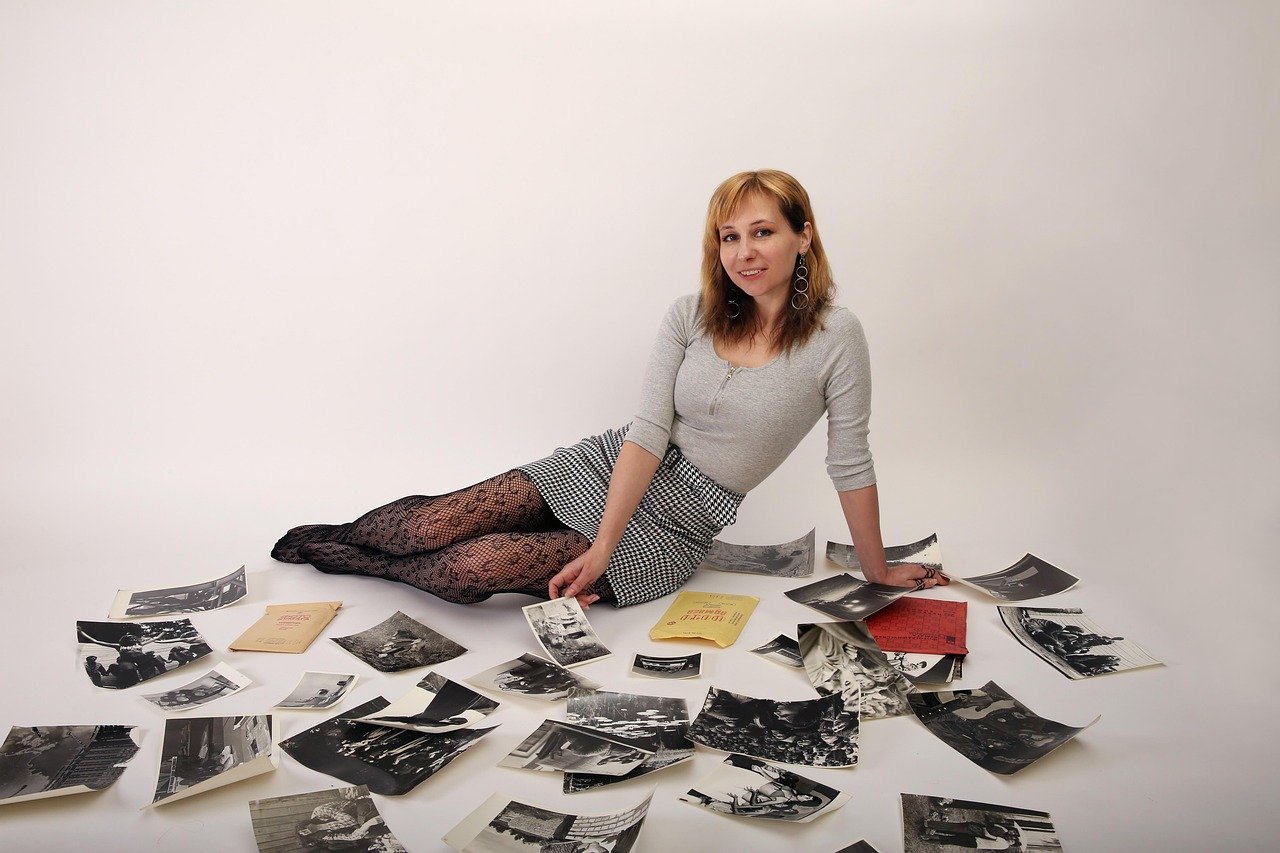
The most common mistake is buying beautiful boxes and albums before deciding what goes in them. That leads to half-empty organizers and a second wave of clutter. Instead, block out two or three hours and sort everything first.
The four-pile method
- Display — items with visual or emotional weight that you want to see daily or seasonally.
- Archive — items worth keeping but not displaying, which need proper storage.
- Digitize — things you want to remember but don’t need to hold, like most ticket stubs and receipts.
- Release — duplicates, generic souvenirs, and anything you kept out of guilt.
Be honest during step four. A keychain bought at an airport gift shop rarely earns shelf space a decade later. The objects people regret discarding are almost always the personal ones: handwritten notes, a map with a route drawn on it, a menu from a meal that mattered.
Handle the fragile stuff first
Before sorting, check for problems. Damp sand in a jar, a moldy paper program, or a leaking snow globe should be dealt with immediately and kept away from the rest of the collection. Mold spreads, and moisture damage is far easier to prevent than reverse.
Match Your Storage to the Material
Once sorted, each pile needs the right home. The table below summarizes what works in practice.
| Material | Best storage | Avoid | Why it matters |
|---|---|---|---|
| Paper (tickets, maps, letters) | Acid-free folders or boxes, flat storage | Tape, glue, direct sunlight | Adhesives stain and paper yellows in light |
| Photographs | Archival sleeves, cool and dry, dark | Attics, damp basements, plastic wrap | Heat and humidity accelerate fading |
| Textiles (shirts, flags, scarves) | Folded with acid-free tissue, padded | Wire hangers, sealed plastic bags | Hangers distort; trapped moisture causes mildew |
| Small objects (shells, stones, coins) | Labeled compartment boxes, dry | Damp jars, direct handling | Salt and moisture cause corrosion and odor |
| Digital files (photos, scans) | Two backups, clear folder names | A single phone with no backup | Devices fail; one copy is no copy |
A useful rule of thumb: if you can smell the container when you open it, something inside is off. Musty odors signal moisture or active deterioration, and the item should be aired out and reassessed.
Build a Simple Labeling System
Labels do more work than most people expect. A box marked “Trip stuff” becomes a mystery within two years; a box marked “Italy 2019 — paper, photos, maps” gets opened, used, and enjoyed.
Use a consistent formula: destination, year, contents, material type. Write it on the outside of the container and on a small card inside, in case the box gets separated from its lid. For digital files, mirror the same structure in folder names so physical and digital collections stay in sync.
This is where a little travel-planning discipline pays off on the back end. If you already keep notes on destinations and itineraries while you travel, as the guides at Voozon travel destinations and ideas encourage, those notes become the natural index for your memorabilia later. A trip journal that lists dates and places turns a pile of unlabeled photos into a dated, searchable record.
Go Digital Without Losing the Physical
Scanning is not a replacement for keeping objects; it is insurance. A phone photo of a ticket stub takes ten seconds and preserves the information even if the paper crumbles or the box is lost in a move.
A practical digitizing routine
- Photograph flat items on a plain, well-lit surface — no flash, no shadows.
- Scan documents and tickets at 300 dpi if you have a scanner; phone photos are fine for three-dimensional objects.
- Name files with the date first: `2019-06-14-rome-colosseum-ticket.jpg`.
- Store everything in one master folder per year, with subfolders per trip.
- Back up to two separate places — an external drive and a cloud account, for example.
The naming convention matters more than the equipment. Sorted by date, a digital archive becomes a timeline of your travels that you can actually browse. Without dates in the filenames, it becomes another unsorted shoebox, just invisible.
Display Rotations Beat Permanent Shrines
A common trap is trying to display everything at once. Shelves fill, surfaces get crowded, and the objects stop being noticed. A rotation system solves this: keep a small curated display — three to five items — and swap it seasonally or after each new trip.
Practical approaches that work:
- Shadow boxes for flat keepsakes like maps or pressed flowers, mounted so adhesives do not touch the object.
- Framed photo clusters that pair a printed image with one small physical object.
- A dedicated shelf with a fixed number of slots. New item in, oldest item back to the archive box.
The fixed-slot rule is the single most effective clutter control in the whole system. It gives every new souvenir a place without letting the display grow indefinitely. (Souvenir)
What to Do With the Awkward Stuff
Some memorabilia resists every system: sand, food wrappers, oversized posters, broken ceramics. A few workarounds help.
- Sand and soil belong in a sealed glass vial, labeled, kept dry and upright.
- Food items should generally be photographed and released, since they attract pests and degrade.
- Oversized paper like posters stores best flat in a large acid-free portfolio, never rolled tightly for years.
- Broken objects can be photographed, documented, and released — or repaired if the sentimental value justifies it.
It is also worth remembering that not every trip needs a physical artifact. A well-kept photo album and a short written account often carry more memory than a drawer of small objects, and they take up a fraction of the space.
Keep the System Maintainable
The best organizing system is the one you will actually maintain. That means low friction: containers that are easy to open, labels that are readable at a glance, and a clear “inbox” for new items so nothing sits in a suitcase for months. (National Archives: Preserving Family Archives)
A simple maintenance rhythm works for most people:
- After each trip: sort into the four piles within a week, while memories are fresh.
- Once a quarter: scan anything still waiting, file it, and close the loop.
- Once a year: review the archive, release anything that no longer matters, and check for moisture or pest damage.
That annual review is also a good moment to revisit where the collection lives. A closet shelf in a climate-controlled room is far kinder to paper and fabric than an attic or garage, where temperature swings do slow but steady damage.
Common Mistakes That Undo Good Intentions
Even careful organizers trip on the same few errors. Storing photos in self-stick albums is one — the adhesive fails and leaves residue on the image. Packing textiles into vacuum bags is another; the compression creases fabric permanently and traps any residual moisture. And keeping everything “for now” in a single unsorted bin is the most common of all, because it feels like progress when it is really just delay.
The fix in every case is the same: decide now, store by material, and label immediately. A ten-minute decision today saves an afternoon of untangling in five years.
Conclusion
Organizing travel memorabilia is less about buying the perfect box and more about making quick, honest decisions and storing each material the way it needs to be stored. Sort into four piles, match storage to material, label everything with destination and year, scan the flat stuff, and rotate your display instead of building a permanent shrine. Done consistently, the system turns a chaotic closet into a small, browsable museum of your travels — one that stays useful, and enjoyable, for decades.
Frequently Asked Questions
How often should I sort my travel memorabilia?
A quick sort within a week of returning home, a quarterly scanning session, and a full annual review is enough for most people. The post-trip sort matters most, because memories are fresh and decisions are faster.
What is the best way to store paper tickets and boarding passes?
Keep them flat in acid-free folders or boxes, away from sunlight and damp. Avoid tape, glue, and self-stick album pages, since adhesives stain paper and fail over time. Scanning each item as a backup is a smart addition.
Should I keep physical souvenirs or just photos?
Both have value. Photographs and scans preserve information and take up almost no space, while a small number of physical objects carry emotional weight that images cannot. A good balance is a curated display of a few items plus a digital archive of the rest.
How do I store travel t-shirts and textiles?
Fold them with acid-free tissue for padding and store them flat in a dry, dark place. Avoid wire hangers for long-term storage and skip sealed plastic bags, which can trap moisture and encourage mildew.
Can I display memorabilia without damaging it?
Yes, if you keep direct sunlight off paper and fabric, avoid adhesives touching the object, and rotate displays rather than leaving items out permanently. Shadow boxes and frames work well when the item is mounted without glue.
What should I do with souvenirs I no longer want?
Photograph them, note what they were and where they came from, then release them. This keeps the memory without the clutter, and it is far better than letting unwanted items crowd out the pieces you actually treasure.