
Hair Diffuser: How to Use It for Lasting Curls in 2026
 Abdul WadoodLast updated
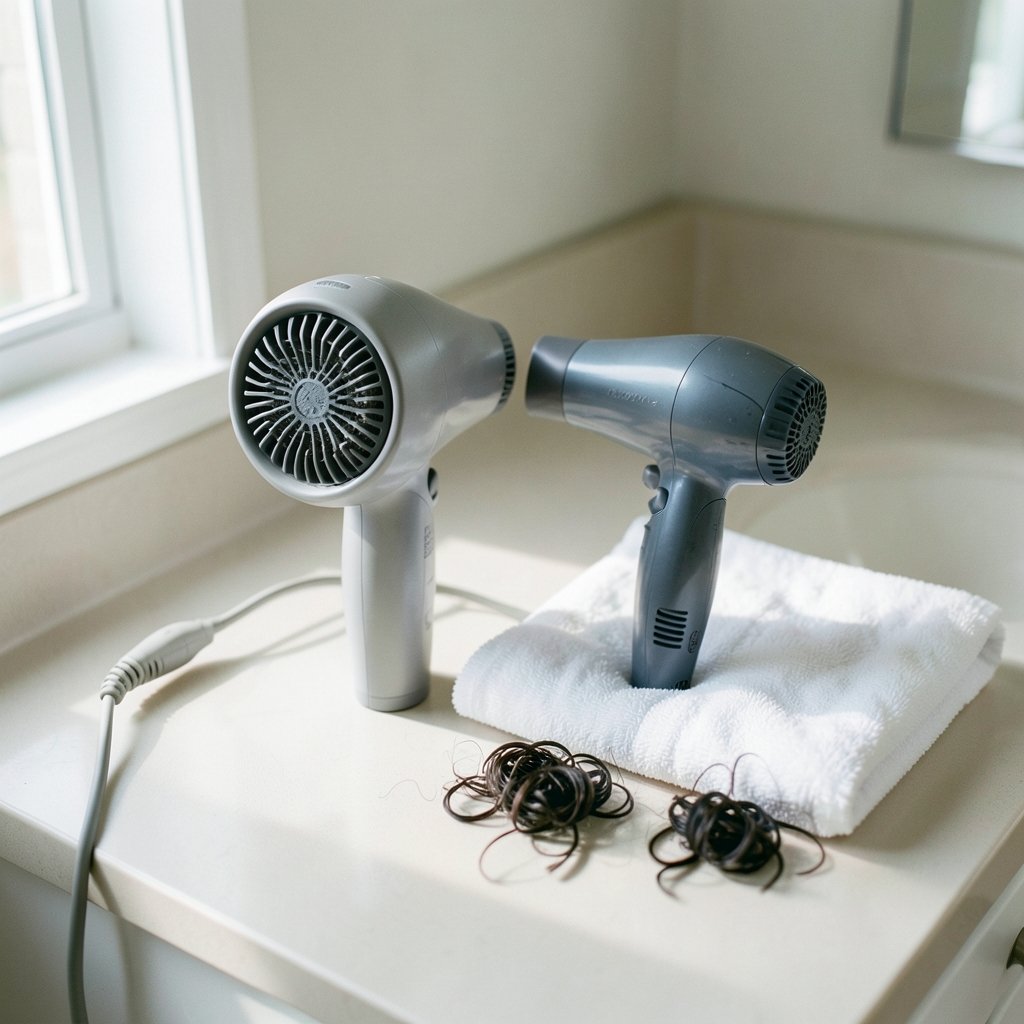
What if the one tool standing between you and defined, bouncy curls was already sitting in your bathroom cabinet, disguised as a plastic bowl? That’s essentially what a hair diffuser is: a humble attachment that clips onto your blow dryer and changes everything about how your hair dries. Yet plenty of people own one, use it wrong, and then blame their curls. Others have never tried one at all.
This guide breaks down what a diffuser actually does, who benefits most, how to use one step by step, and the mistakes that quietly sabotage results. No fluff, no miracle claims, just the mechanics and the methods that hold up in practice.
What Is a Hair Diffuser, Exactly?
A hair diffuser is a bowl- or prong-shaped attachment that fits over the nozzle of a hair dryer. Its job is simple but important: it spreads the dryer’s concentrated stream of hot air into a wide, gentle flow and slows the velocity.
Think of the difference between a garden hose with a jet nozzle and one with a sprinkler head. Same water pressure, completely different delivery. A bare dryer nozzle blasts air at high speed, which blows curls apart, roughens the cuticle, and sends frizz flying. A diffuser converts that jet into a soft, ambient warmth that dries hair gradually while leaving its natural pattern intact.
Most diffusers fall into a few basic designs:
| Type | How It Works | Best For |
|---|---|---|
| Bowl diffuser | Deep cup with prongs or fingers inside; hair cupped into the bowl | Curly and coily hair that needs volume and definition |
| Prong diffuser | Wide, flat head with long prongs that reach the roots | Thick hair, root volume, lifting curls at the scalp |
| Universal attachment | Flexible sleeve or snap-on design that fits most dryer nozzles | People who don’t want to buy a dedicated dryer |
| Integrated diffuser | Built directly into the dryer’s design | Travel and one-piece convenience |
One practical note before buying: check the diameter of your dryer’s nozzle. Many diffusers are sold as “universal,” but fit varies. A loose attachment that pops off mid-dry is one of the most common frustrations reported by first-time users.
Why Diffusing Works: The Science of Gentle Drying
Curly, wavy, and coily hair has a structure that makes it more vulnerable to heat and mechanical stress. The curl pattern itself means the hair shaft bends, which makes it harder for natural oils from the scalp to travel down the strand. That’s why textured hair tends to run drier and frizz more easily.
High-velocity airflow is a mechanical force. When a strong airstream hits wet curls, it disrupts the clumps that form curl definition and pushes the cuticle layers apart. The result is exactly what curly-hair communities complain about: a halo of frizz and limp, undefined waves.
A diffuser addresses this on two fronts. First, it reduces air velocity, so the curl clumps stay together as they dry. Second, it distributes heat over a wider area, which lowers the risk of localized heat damage and makes the drying process gentler overall. The trade-off is speed: diffusing takes longer than blasting hair with a concentrator nozzle. For most curly-haired people, that slower pace is the entire point.
For general background on how hair dryers and their attachments work, the Wikipedia article on hair dryers covers the basic mechanics and history of the tool.
Who Should Use a Diffuser (and Who Can Skip It)
Diffusers are most strongly associated with curly, wavy, and coily hair types, but the benefits extend further than that.
Strong candidates for diffusing:
- Anyone with Type 2 waves, Type 3 curls, or Type 4 coils who wants definition without frizz
- People with fine curls who need volume at the root without flattening
- Anyone transitioning from relaxed to natural hair and learning to work with their texture
- People with delicate, color-treated, or heat-sensitive hair who want gentler drying
People who may not need one:
- Straight, thick hair that dries quickly and doesn’t frizz
- Anyone who already gets the result they want from a concentrator nozzle or air-drying
- Very short hair where drying time is negligible
There’s a persistent myth worth debunking: that diffusers are only for “curly hair people.” In reality, a diffuser is simply a gentler drying method. Someone with straight hair who wants to reduce heat exposure can use one too. It just won’t create curls that aren’t there.
How to Use a Hair Diffuser: A Step-by-Step Method
The technique matters as much as the tool. Here’s a routine that works across most curl patterns.
- Start with wet, product-loaded hair. Apply your leave-in conditioner, curl cream, or gel to soaking-wet hair. Product distribution is easier when hair is wet, and the gel cast is what protects definition during drying.
- Gently remove excess water. Cup handfuls of water out, or use a microfiber towel or cotton t-shirt to blot. Skip the rough towel rubbing, which creates frizz before you’ve even plugged in the dryer.
- Set your dryer to low heat and low speed. This is the single most important setting. High speed defeats the purpose of the diffuser. Many people use a medium heat setting and finish with a cool shot.
- Hover first. Hold the diffuser a few inches from your head and let the air circulate around the roots. This starts drying the scalp without disturbing the curl pattern.
- Then cup and scrunch. Lower the diffuser bowl so curls pool inside it, and gently push upward toward the scalp. Hold for 15 to 30 seconds, then release and move to the next section.
- Work in sections. Divide hair into manageable sections, starting at the back and sides. Rushing this step is where most frizz happens.
- Finish with cold air. A blast of cool air helps set the curl and close the cuticle. Then avoid touching your hair until it’s completely dry. Breaking the gel cast comes later, once hair is 100 percent dry.
A useful rule of thumb: if your hair is moving around a lot while drying, your speed setting is too high.
Common Mistakes That Ruin Diffuser Results
Even people who own a diffuser for years often make the same handful of errors. Here are the big ones, and what to do instead.
Using high speed. This is mistake number one. High velocity blows curls apart. Low speed, always.
Diffusing soaking-wet hair without blotting. Dripping hair takes forever to dry and dilutes your styling product. Blot first.
Touching hair mid-dry. Every touch while hair is damp creates frizz. Hands off until it’s fully dry.
Skipping product entirely. A diffuser enhances definition; it doesn’t create it from nothing. Some hold product, whether gel, mousse, or cream, is usually necessary.
Holding the diffuser in one spot too long. Keep it moving. Static heat on one area risks overheating and doesn’t dry evenly.
Buying an attachment that doesn’t fit. A wobbly diffuser that falls off mid-section is a genuine safety annoyance and a workflow killer. Measure your nozzle first.
Expecting instant results. Diffusing takes time, often 15 to 30 minutes depending on hair length and density. Rushing it with higher heat defeats the purpose.
Diffuser vs. Other Drying Methods
How does diffusing actually compare with the alternatives? Here’s a straight comparison.
| Method | Speed | Frizz Risk | Curl Definition | Heat Exposure |
|---|---|---|---|---|
| Diffuser (low heat, low speed) | Slow | Low | High | Low to moderate |
| Bare dryer nozzle | Fast | High | Low | High |
| Concentrator nozzle | Fast | Medium to high on curls | Low | Moderate to high |
| Air drying | Very slow | Low to medium | Medium | None |
| Microfiber plopping | Medium | Low | Medium to high | None |
The takeaway: diffusing trades speed for control. If you have 10 minutes and straight hair, a concentrator is fine. If you have curls and want them to survive the day, the diffuser earns its keep.
Practical Buying Advice
If you’re shopping for a diffuser, a few details matter more than marketing claims.
- Fit first. Measure your dryer’s nozzle diameter or check the manufacturer’s compatibility list. Universal attachments with flexible silicone sleeves tend to fit more dryers than rigid snap-on models.
- Bowl depth. Deeper bowls suit longer, denser curls. Shallower prong designs work better for short hair or root lifting.
- Material. Silicone and heat-resistant plastic are standard. Avoid flimsy attachments that warp or soften with heat.
- Vent design. Evenly spaced vents distribute air more gently than a few large holes.
- Weight. A heavy attachment on a lightweight dryer makes the whole tool awkward to hold for 20 minutes.
For anyone building a full hair-care routine around textured hair, resources like the Voozon Media library cover styling tools and techniques in more depth.
Diffusing and Hair Health: What to Keep in Mind
A diffuser reduces heat exposure compared with direct nozzle drying, but it doesn’t eliminate it. A few health-minded habits are worth building in.
Keep heat moderate. Most stylists recommend medium heat rather than the highest setting, especially for fine or damaged hair. If the air feels uncomfortably hot on your scalp, it’s too hot for your hair.
Don’t diffuse dripping-wet hair on high heat. The combination of water and high heat is harsher than either alone.
Give hair breaks. Alternating diffuser days with air-drying days reduces cumulative heat exposure.
Watch for breakage patterns. If you notice more shedding or snapping, check your technique, your product, and how often you use heat overall. Persistent hair loss or scalp irritation is a matter for a dermatologist, not a styling adjustment.
For context on hair structure and how heat and moisture affect the shaft, the Wikipedia entry on hair provides a solid primer on the biology.
Conclusion
A hair diffuser isn’t a gimmick or a niche accessory for one hair type. It’s a simple piece of engineering that converts a harsh, fast airstream into a gentle, even flow, and that change is exactly what curly, wavy, and coily hair needs to dry without losing its shape.
The formula for results is refreshingly unglamorous: start with wet, product-loaded hair, blot the excess, set your dryer to low speed and moderate heat, hover first, then cup and scrunch in sections, and finish with cool air. Keep your hands off until hair is fully dry. Avoid the classic mistakes, high speed, dripping-wet starts, mid-dry touching, and ill-fitting attachments, and the tool does what it’s supposed to do.
Diffusing costs time. What it buys back is definition, volume, and far less frizz. For anyone who has ever watched their curls collapse under a regular blow dryer, that’s a trade worth making.
Frequently Asked Questions
What does a hair diffuser actually do?
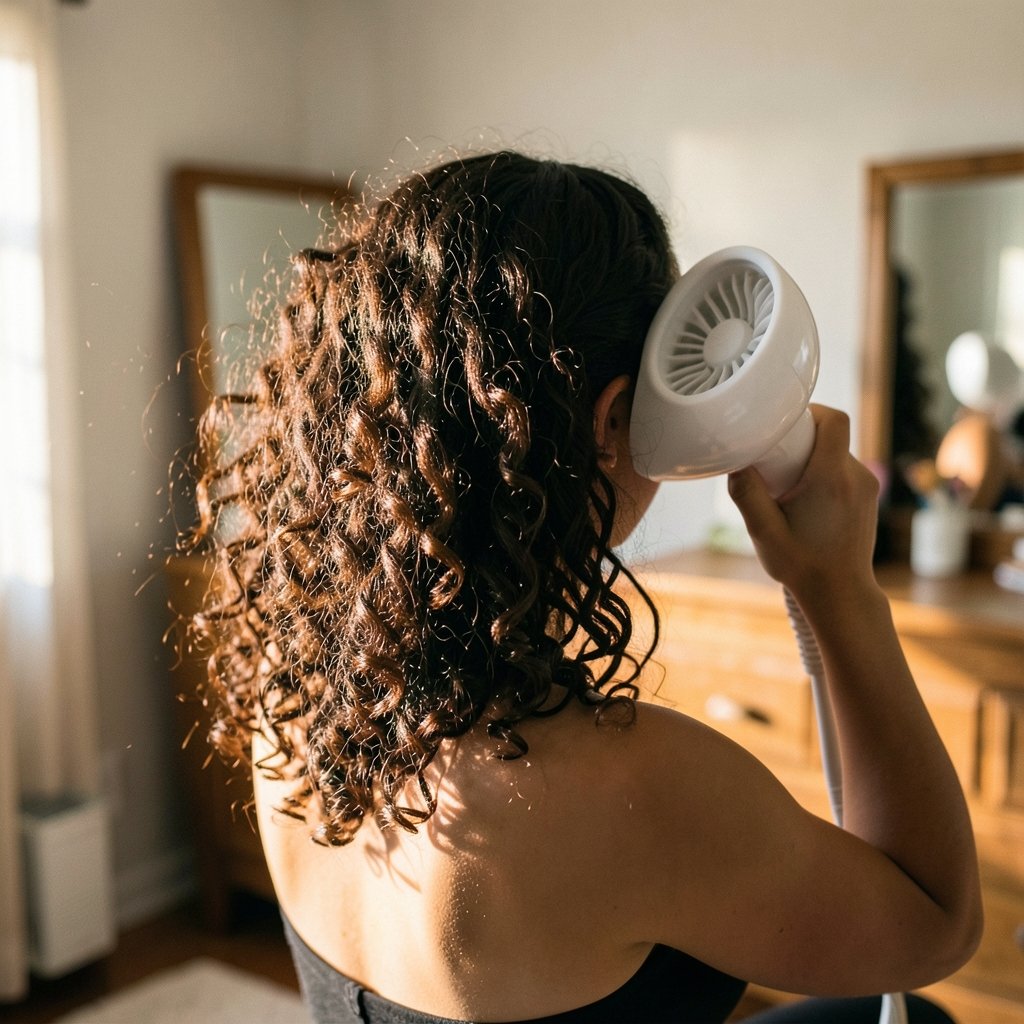
A hair diffuser spreads the dryer’s airflow over a wider area and slows its speed. Instead of a concentrated blast of hot air, hair receives a gentle, ambient flow. This reduces frizz, helps curl clumps stay together, and lowers the risk of heat damage compared with a bare nozzle.
Can I use a diffuser on straight hair?
Yes. A diffuser is simply a gentler drying method, so anyone can use one to reduce heat exposure and mechanical stress. It won’t create curls on straight hair, but it can add a bit of volume at the roots and make drying less harsh.
What heat and speed setting should I use with a diffuser?
Low speed is essential, since high velocity defeats the diffuser’s purpose and blows curls apart. Medium heat works for most people, with a cool shot at the end to set the style. If the air feels hot against your scalp, drop the heat setting.
How long does diffusing take?
It varies with hair length, density, and how wet hair is when you start. Most people need 15 to 30 minutes. Blotting excess water before drying and working in sections can shorten the process. Rushing with higher heat usually produces worse results, not faster ones.
Do I need special products to diffuse my hair?
Not special products, but some hold product helps. Gel, mousse, or curl cream applied to wet hair supports definition and protects the curl pattern during drying. Without any product, a diffuser can leave curls softer and less defined, especially in humid conditions.
Why does my hair frizz even when I use a diffuser?
The usual culprits are high speed settings, starting with dripping-wet hair, touching hair while it’s still damp, or using an attachment that doesn’t fit properly. Technique matters more than the tool itself. Low speed, blotting first, and hands-off drying fix most frizz problems.